 Free UK Delivery on orders over £75
How to remove a background from your image
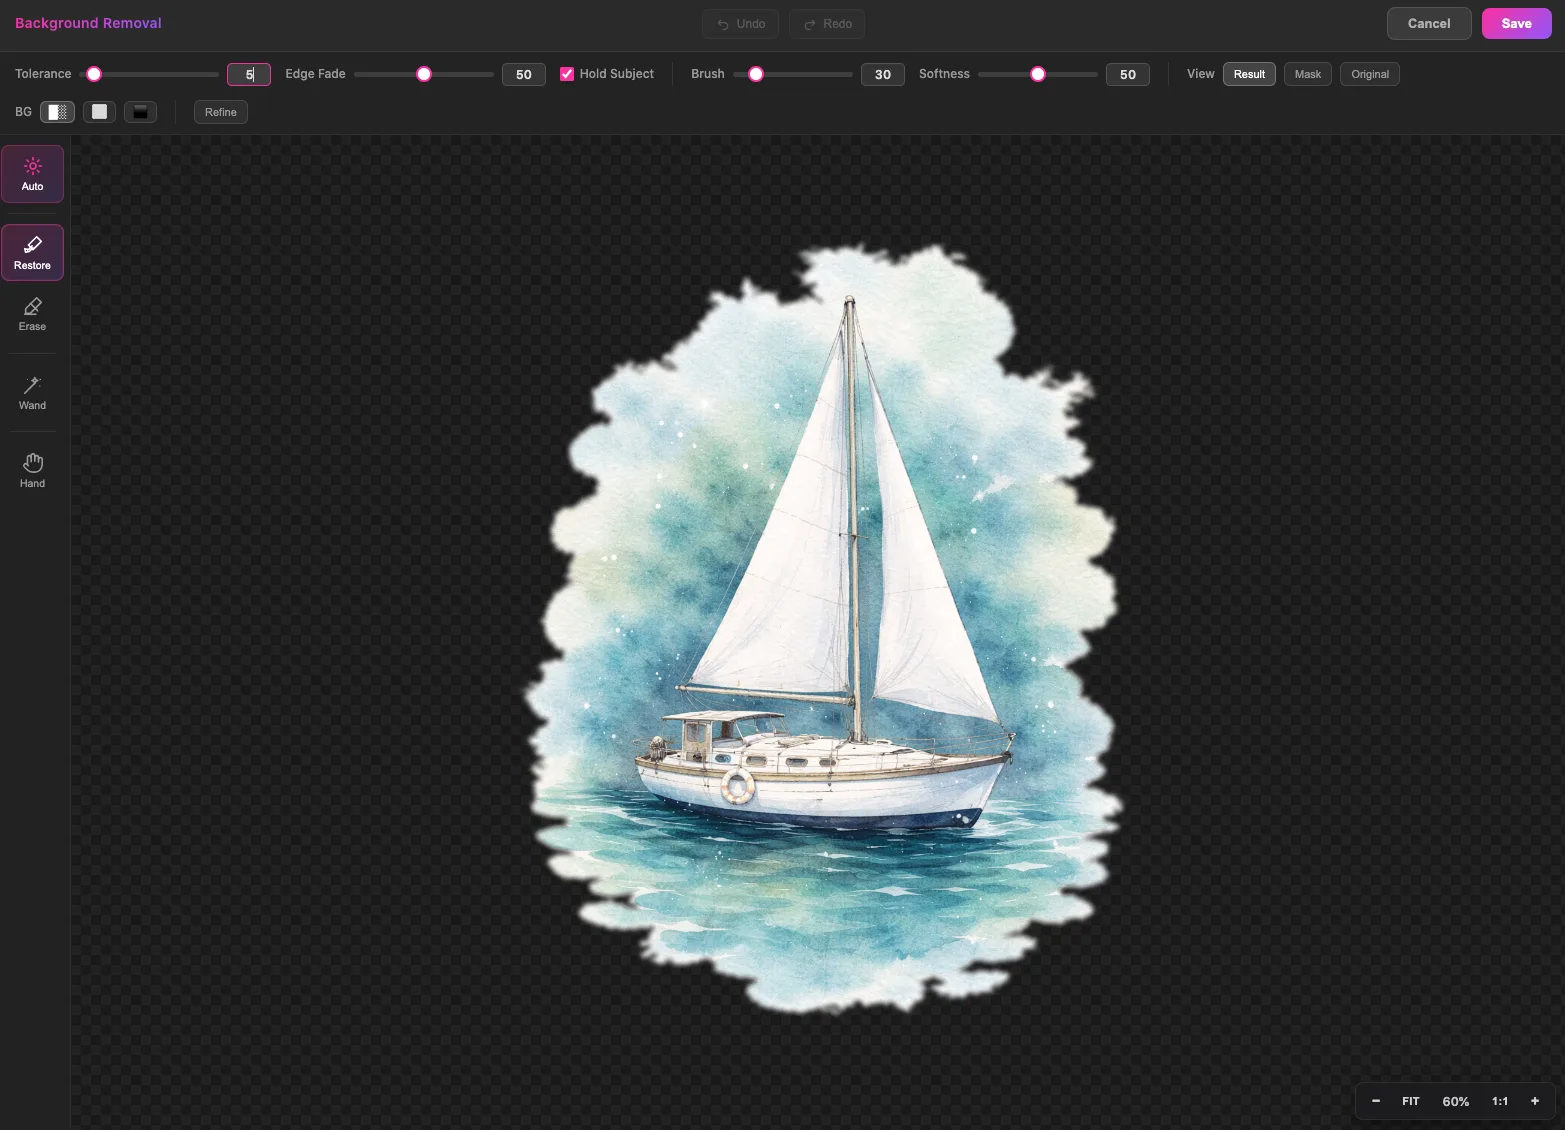
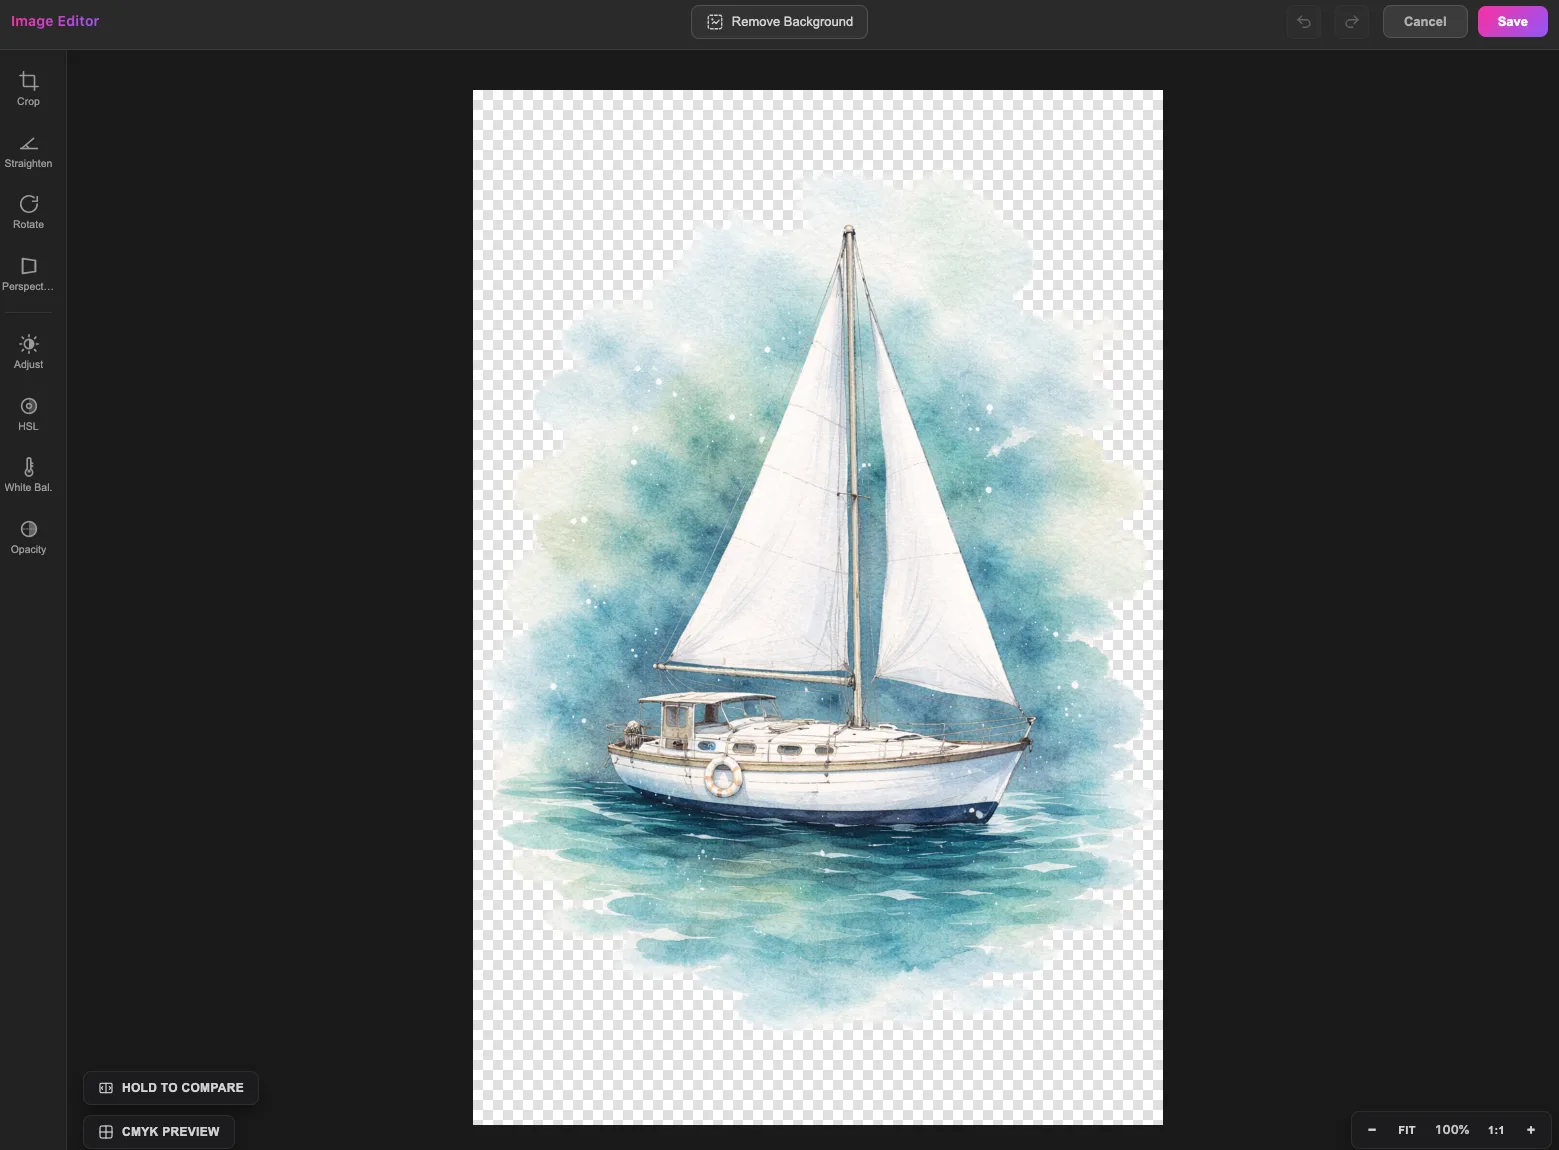
The image editor's background removal tool lifts your subject cleanly off its background. It's especially useful for watercolour and pen-and-ink work, where a clean edge really lets the piece breathe. You can remove the background automatically or paint it in by hand, and if the automatic result is ever too strong, you stay in full control to fine-tune exactly what stays.
Open the image editor
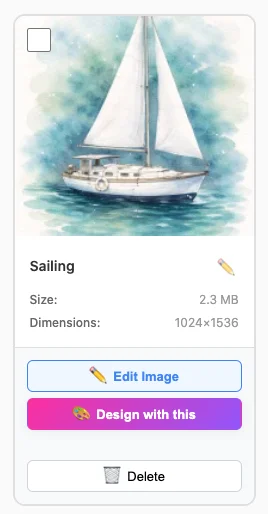
Start a new design, then click your image to select it. Open the image editor to access the editing tools.
Remove the background
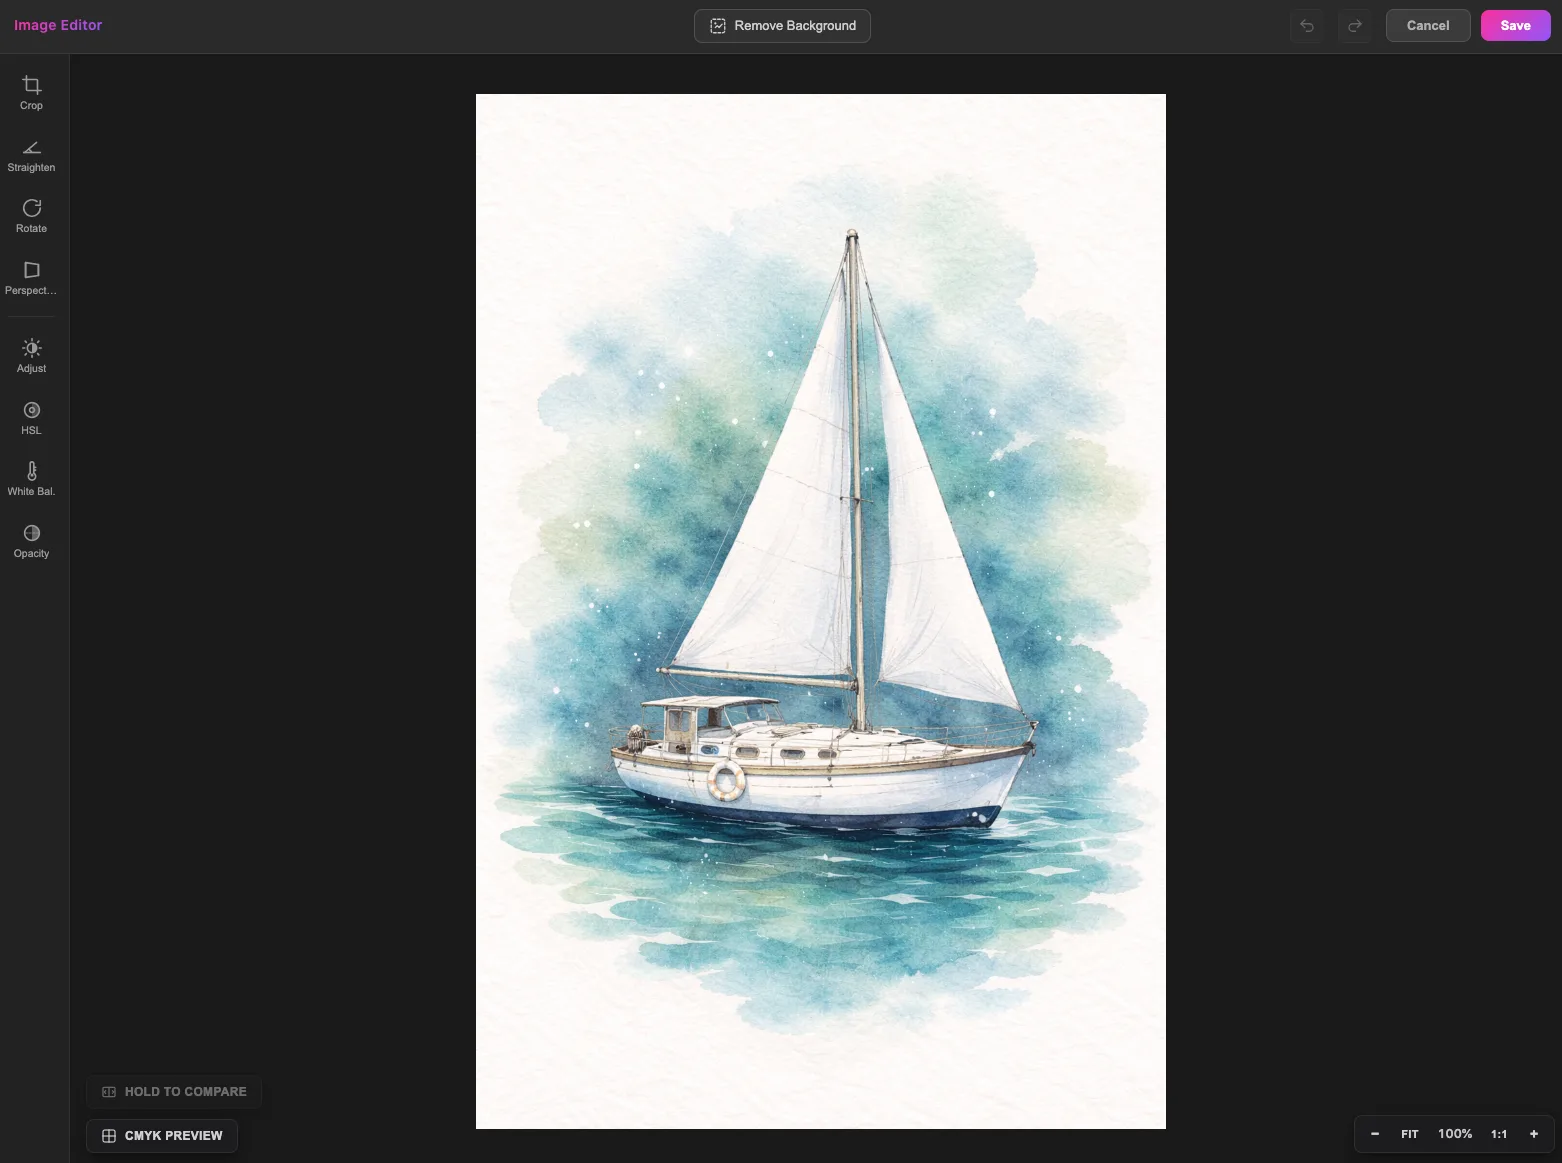
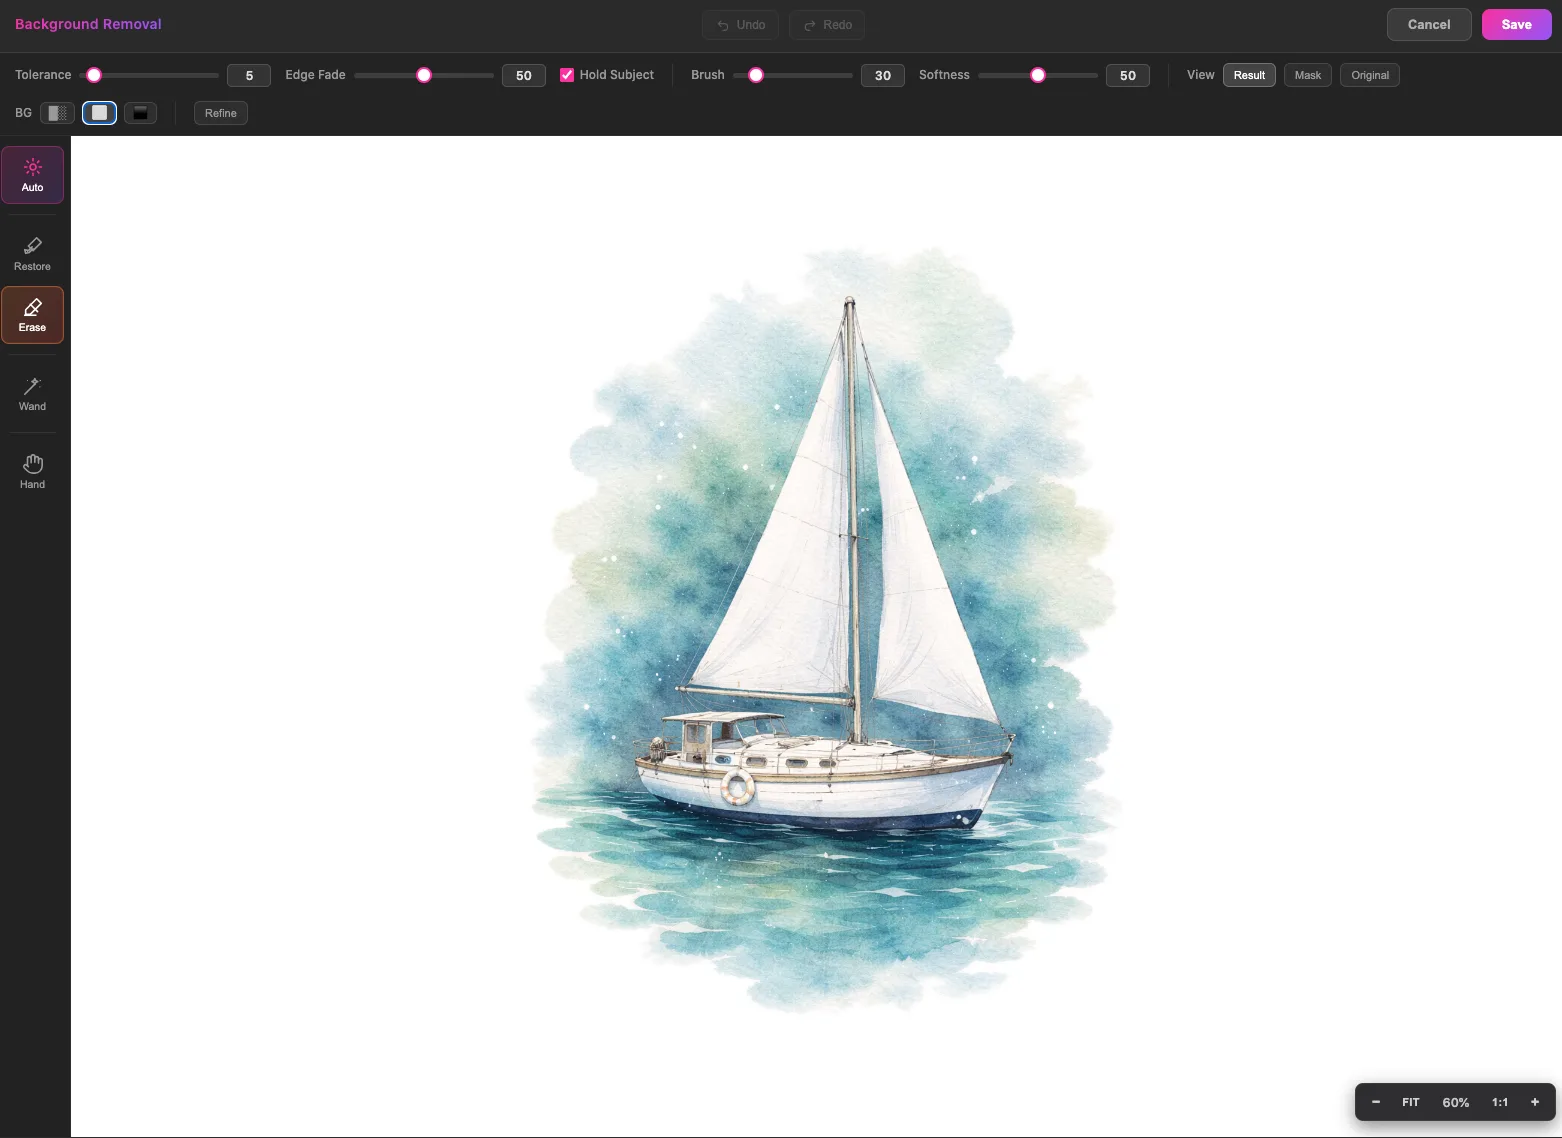
Click Background Removal to begin. The tool will make a first pass automatically.
Dial it in with the tolerance slider
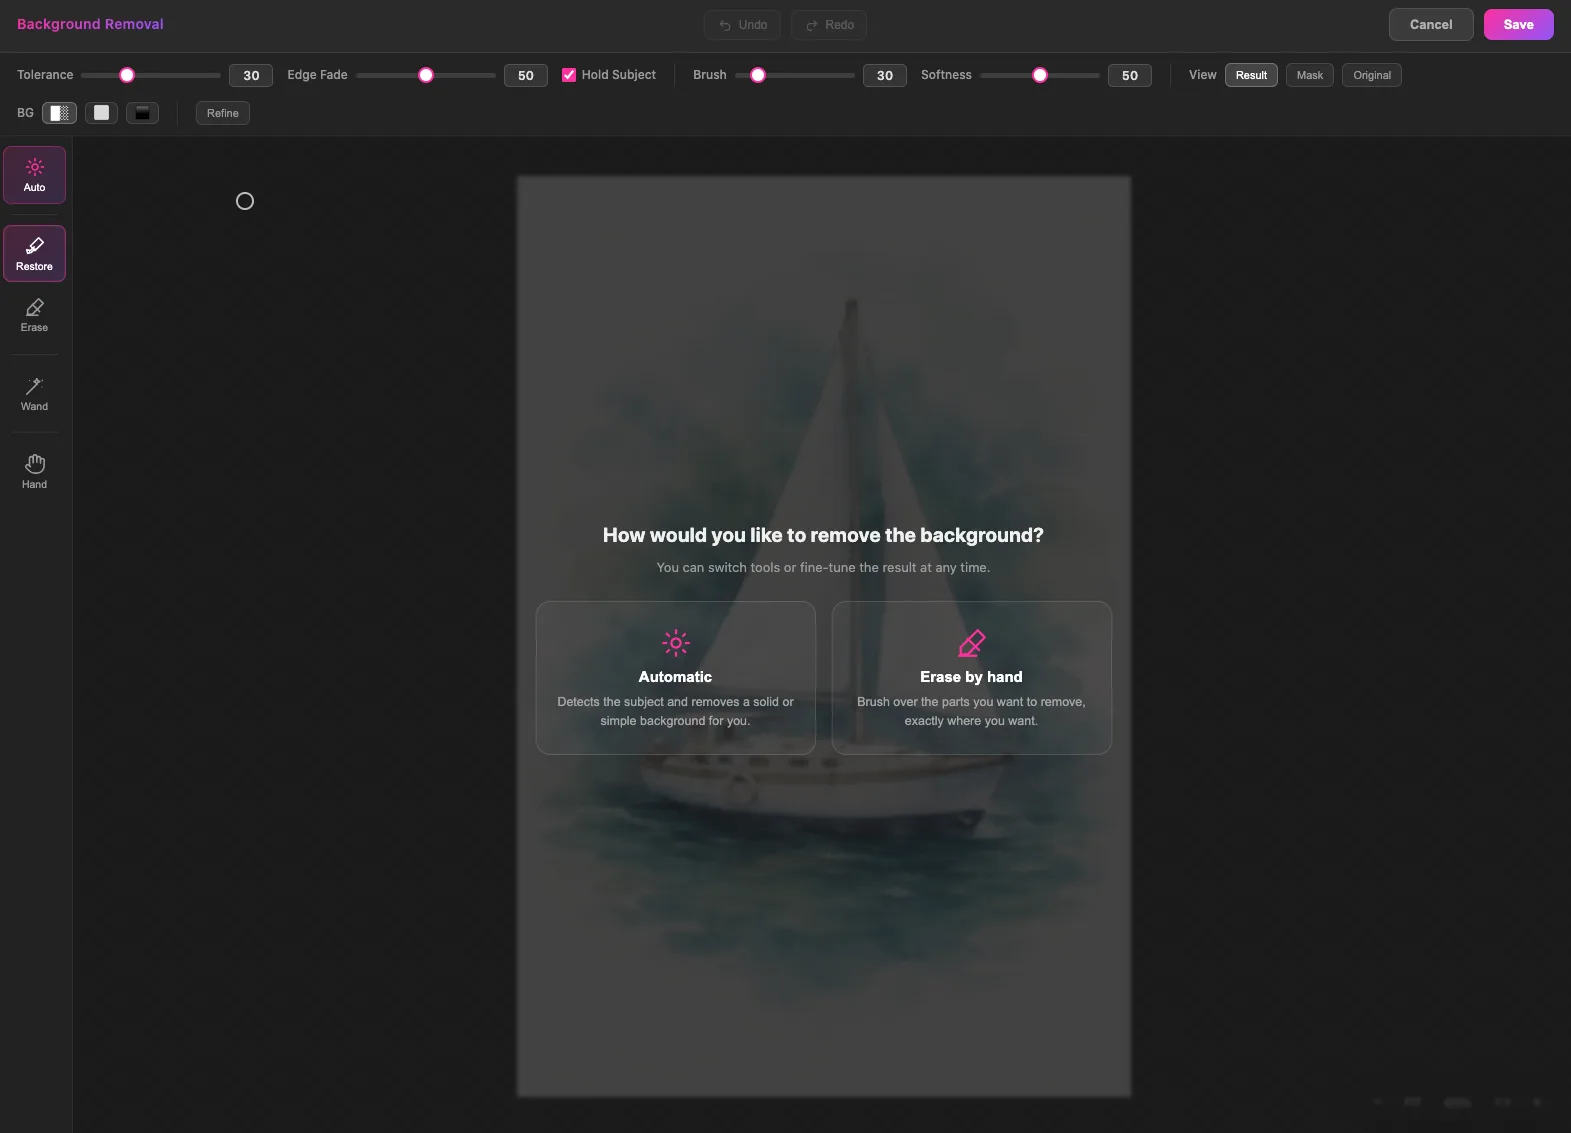
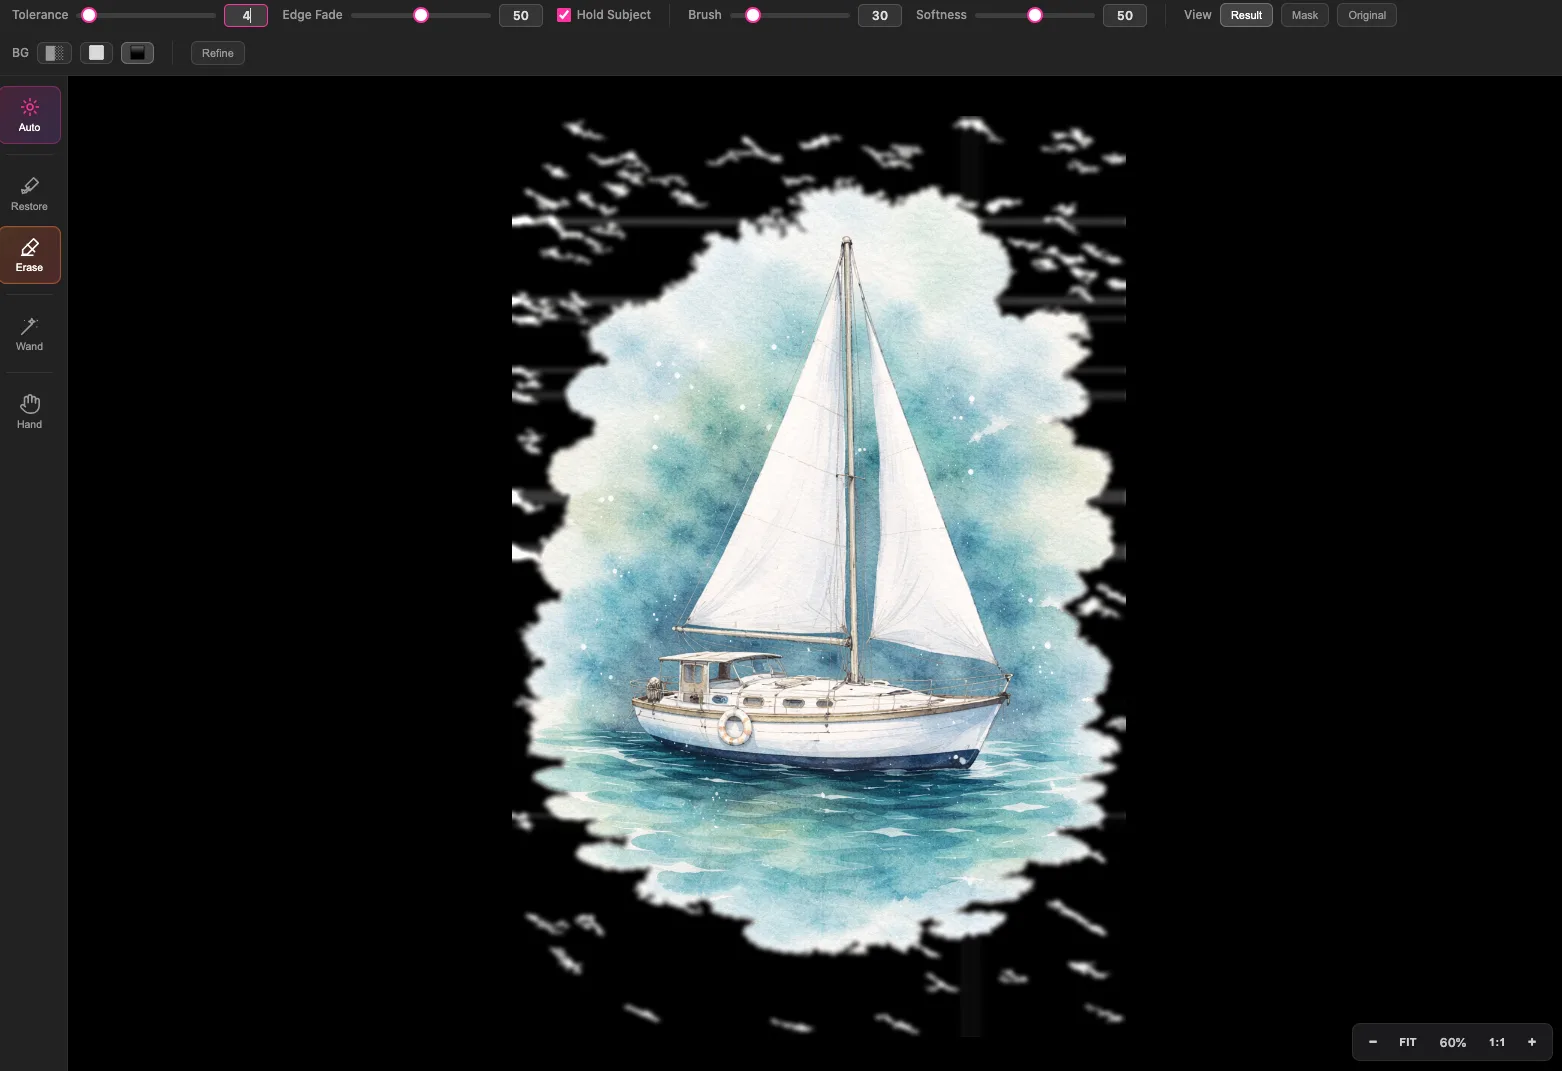
Automatic removal isn't always spot-on first time. If it's taken too much, or too little, use the tolerance slider to ease the effect up or down until it looks right. Lower tolerance keeps more of your image; higher removes more.
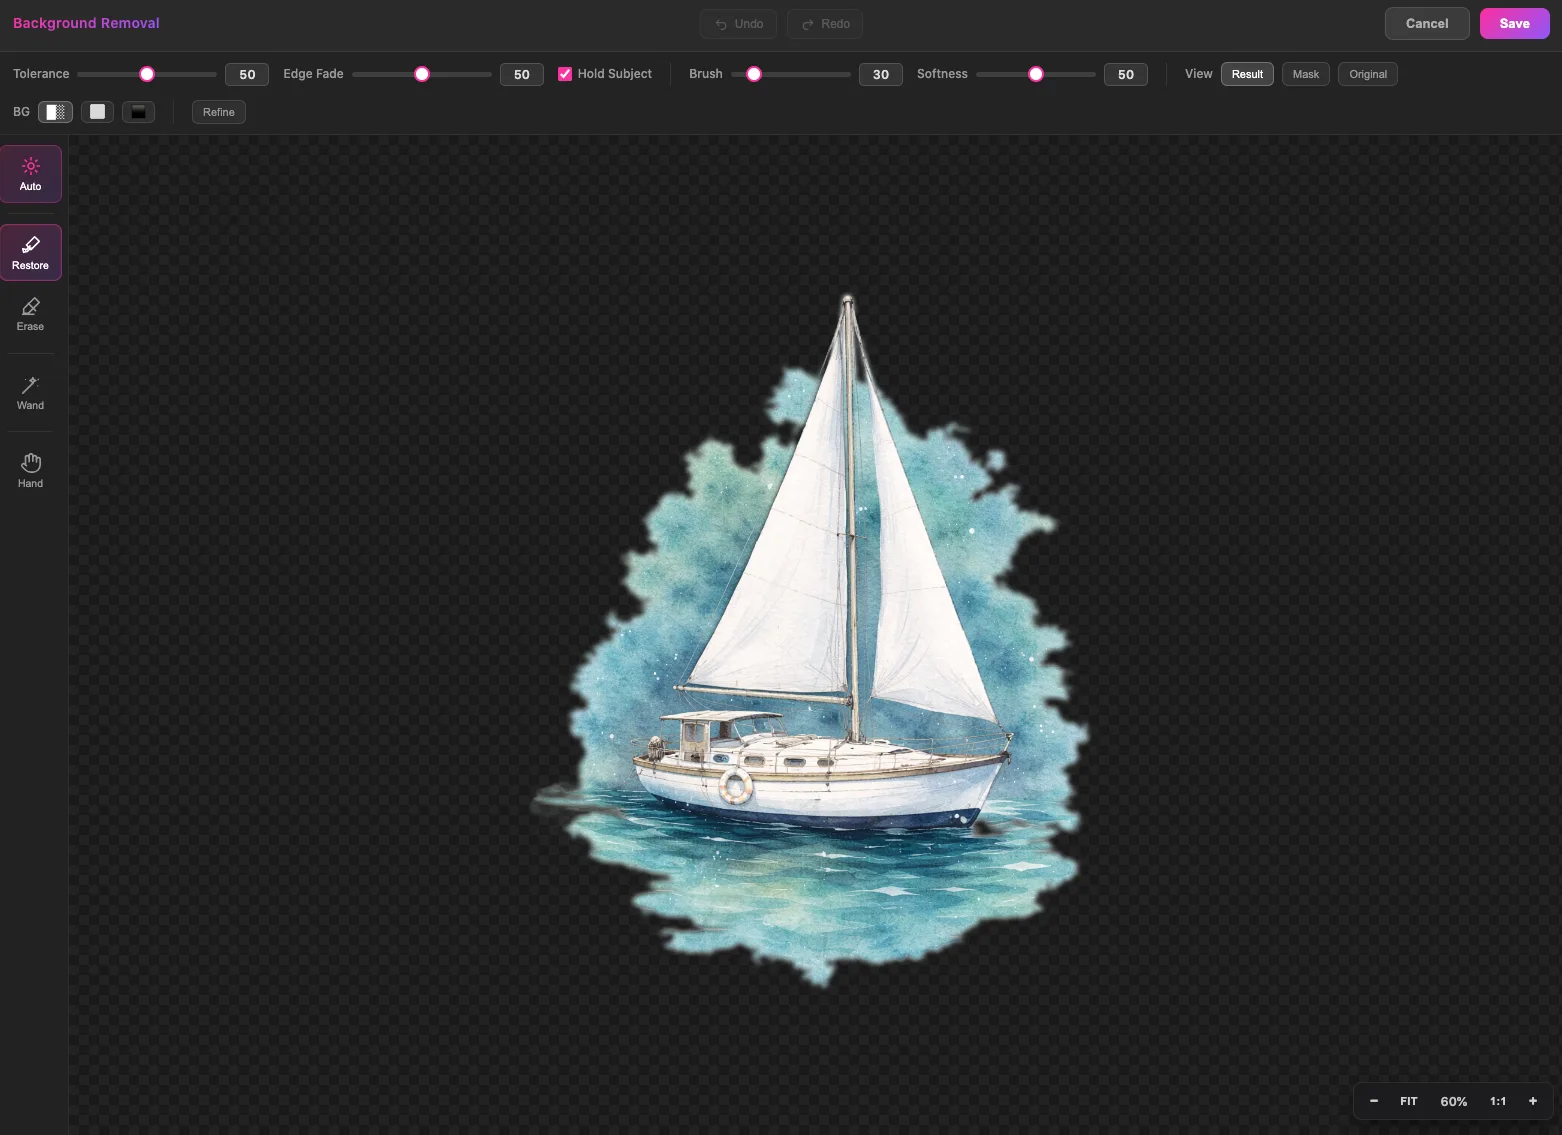
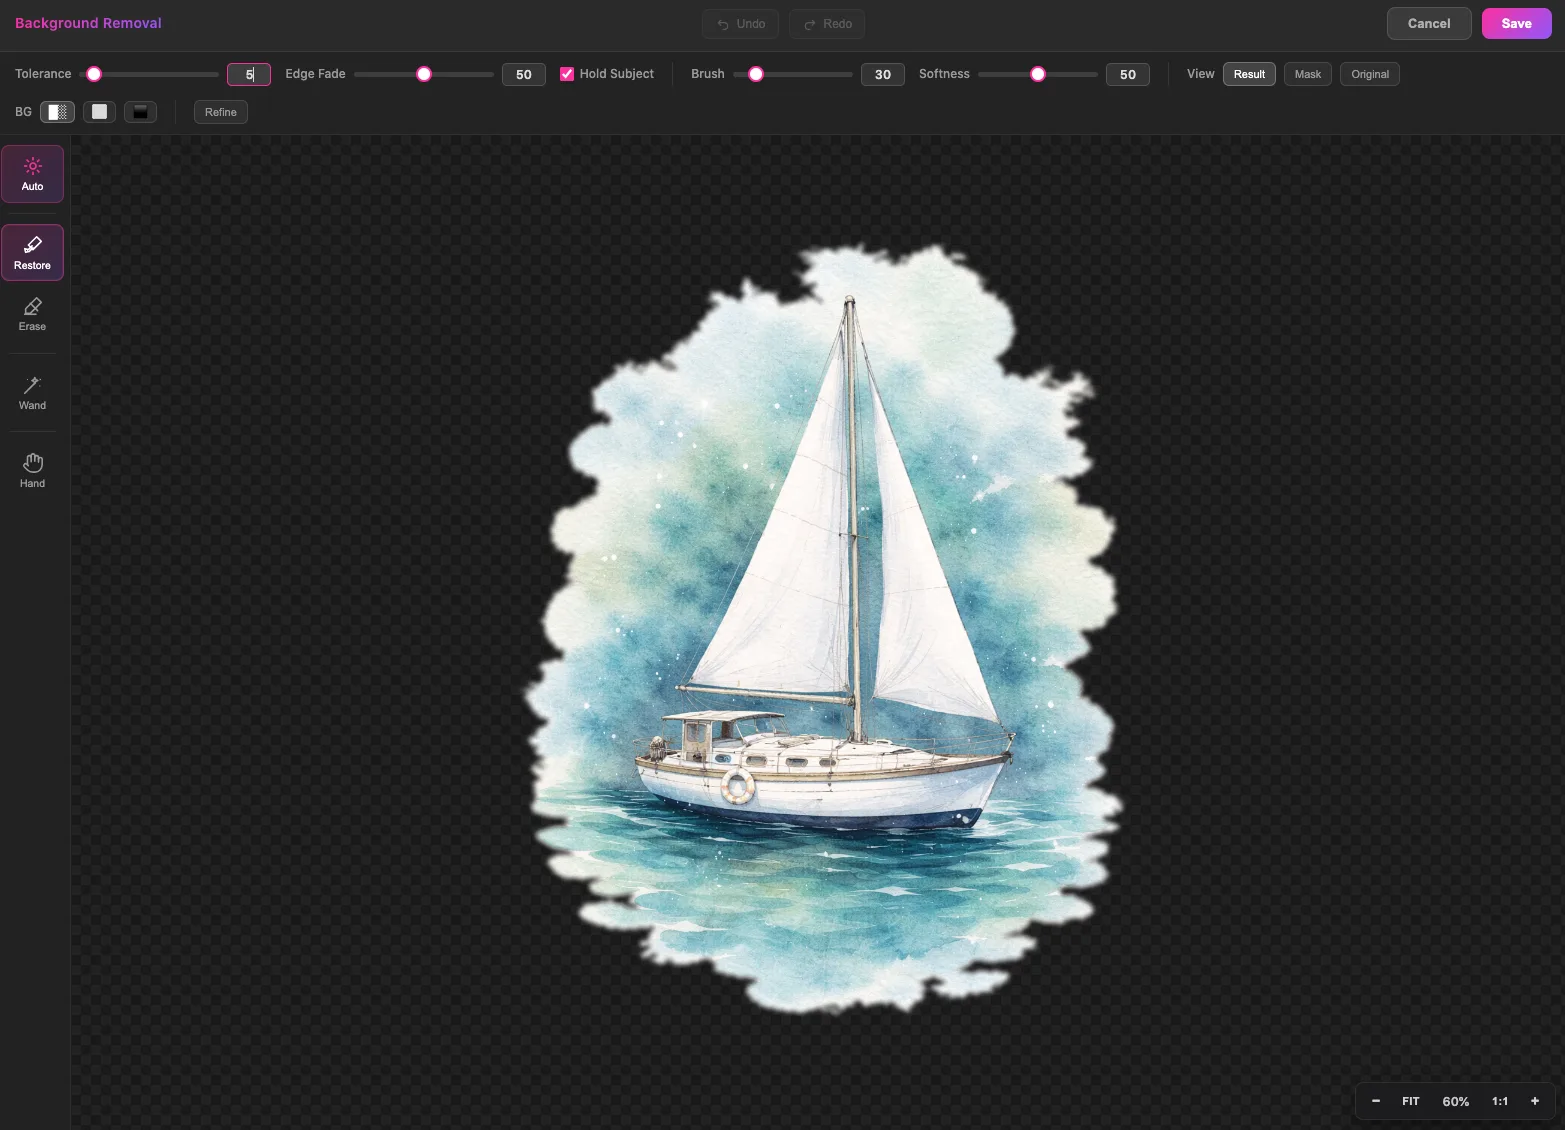
Check your edges
Use the preview options to make sure nothing's been left behind. The mask view shows exactly what's been removed, and the black background option highlights any stray leftovers against a dark backdrop.
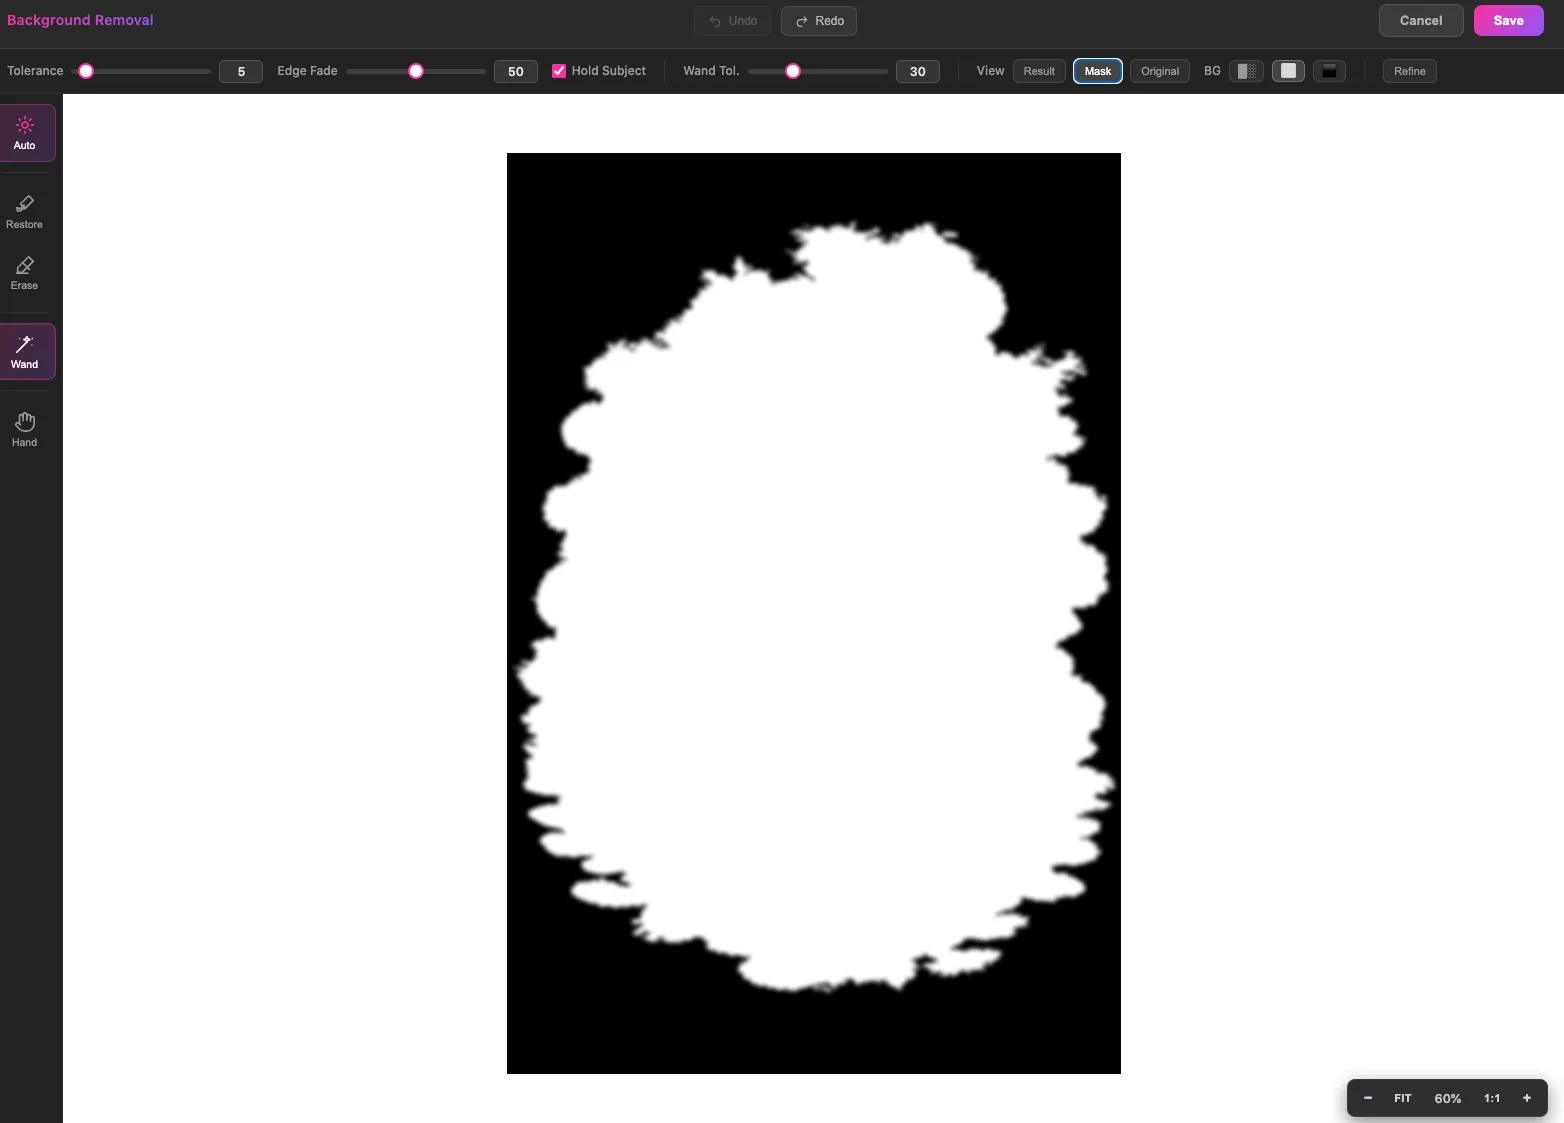
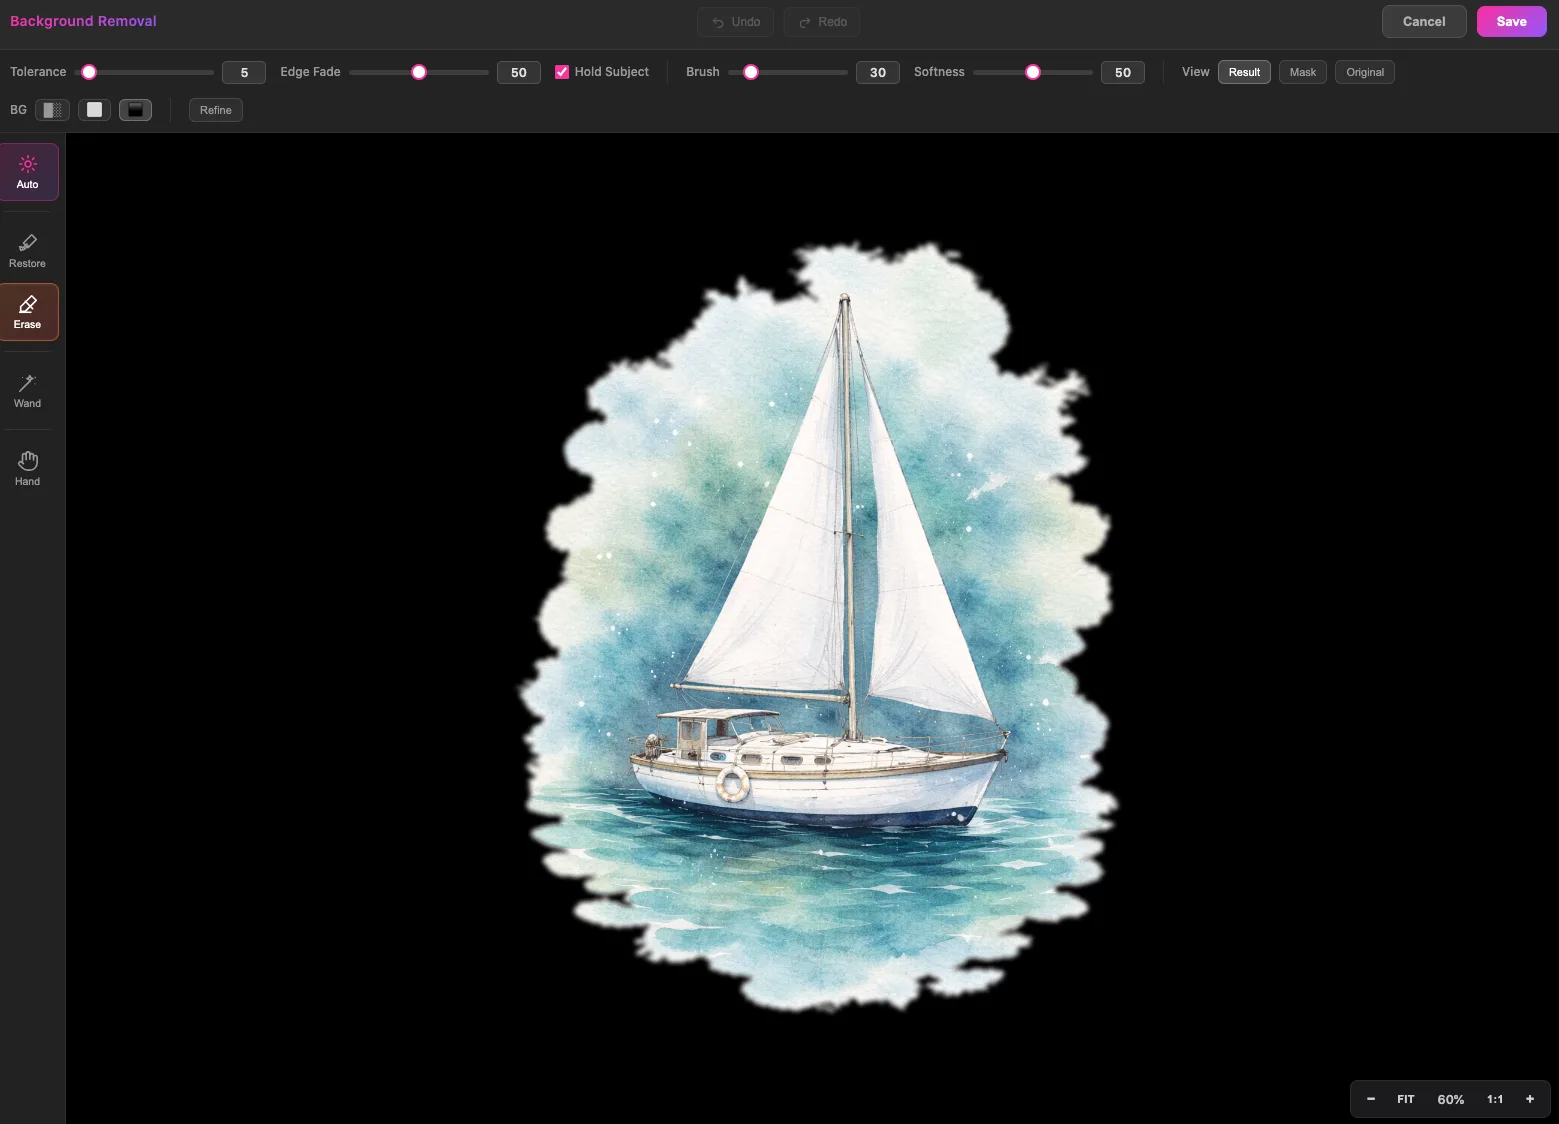
Brighten and fine-tune (optional)
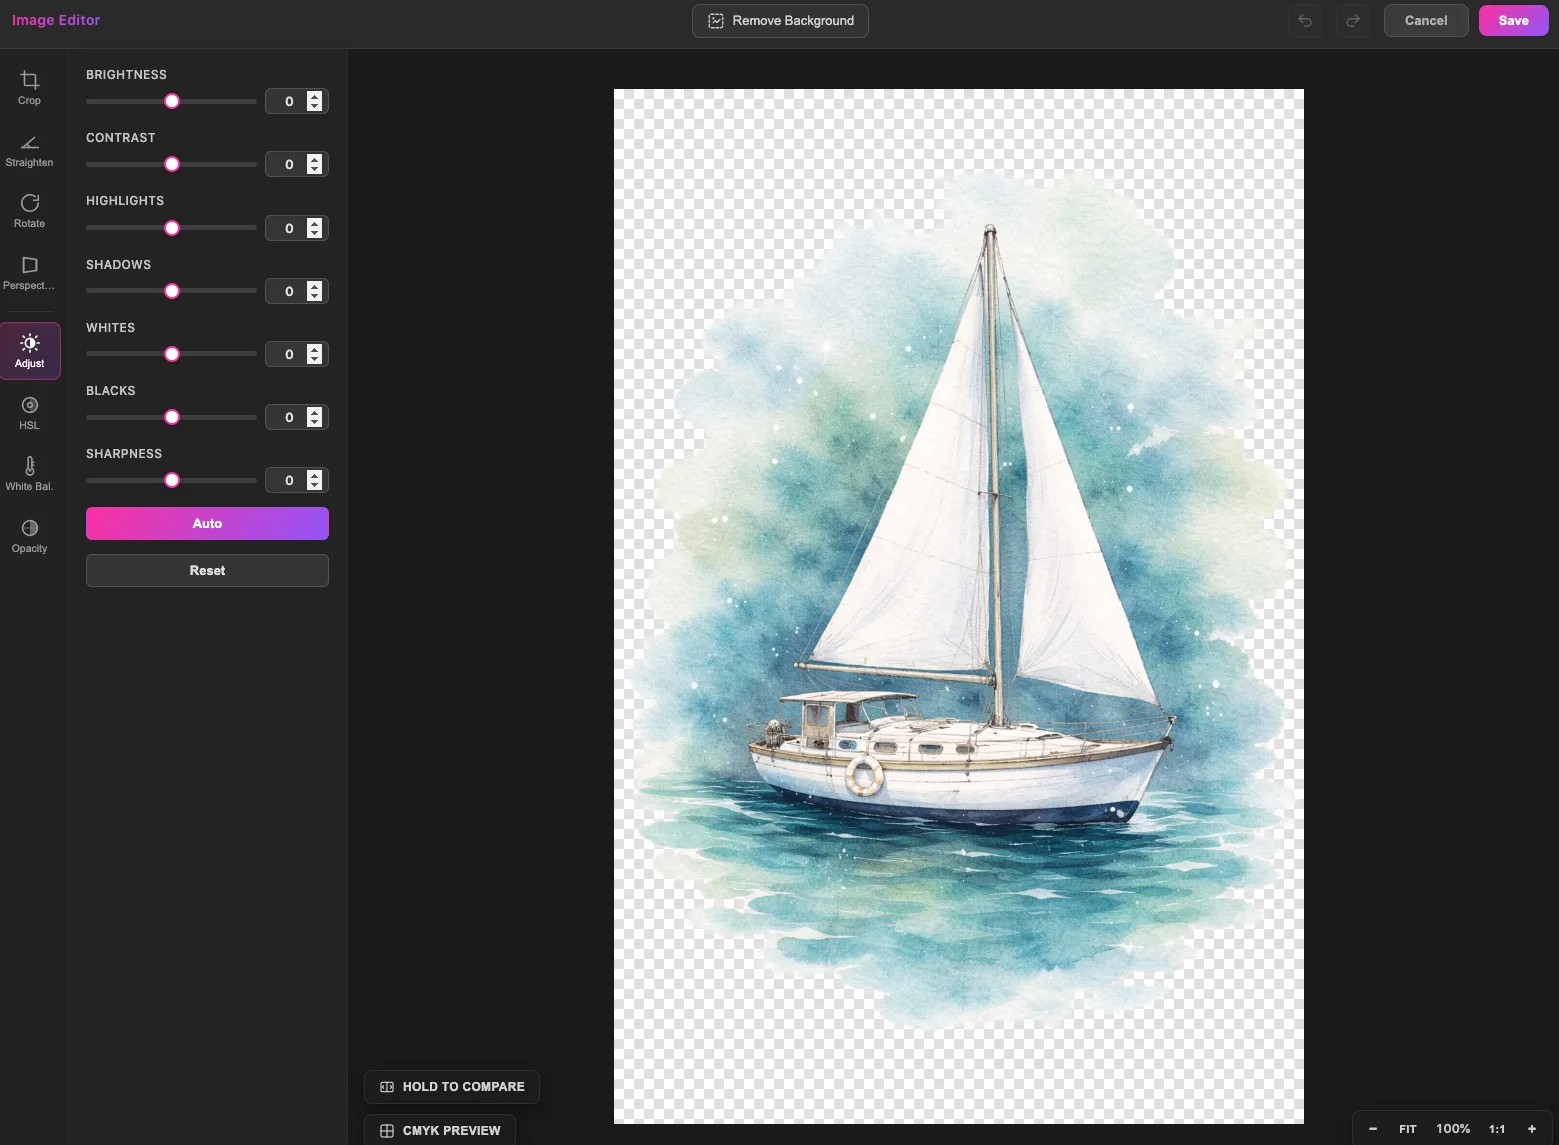
Need a little more punch? The adjustment options let you tune your image, and Auto balances the levels to brighten it in one click.
Check your colours before printing
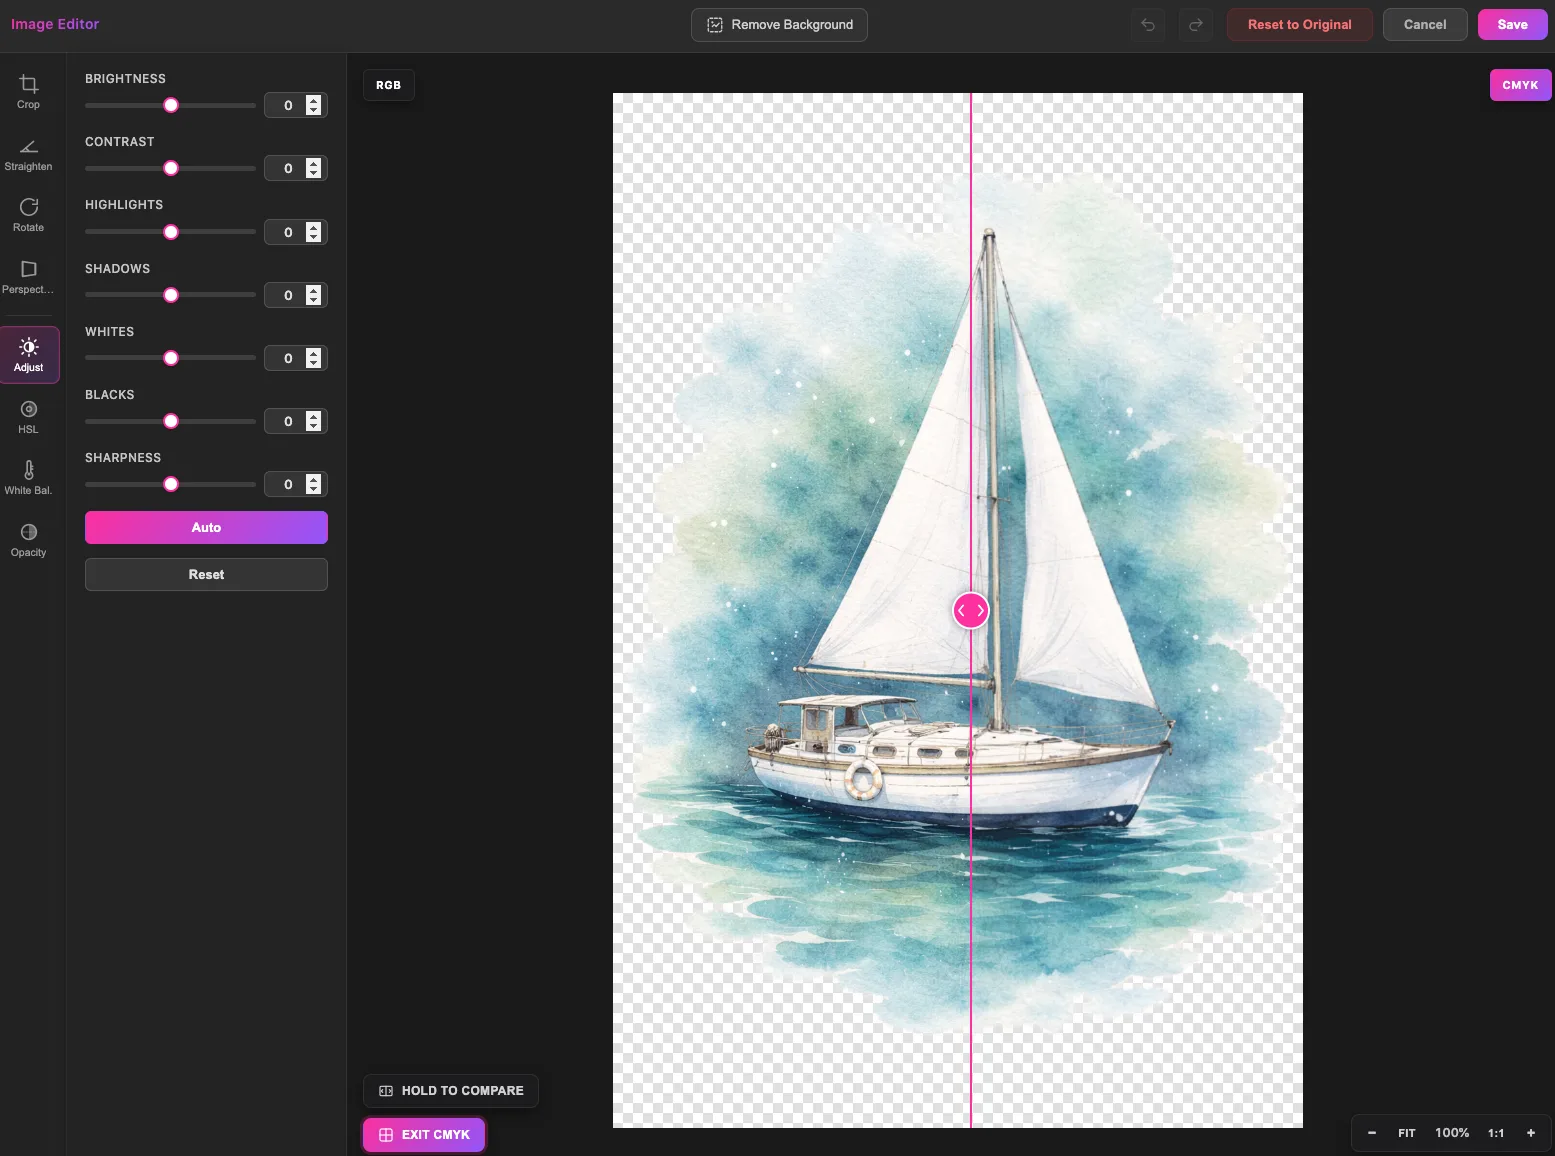
Screens show more colours than any printer can reproduce. The CMYK Compare view flags any colours that fall outside the printable range, so there are no surprises when your card arrives.
Save and add to your card
Happy with it? Save your image and it drops back into your design, ready to position. Finish your layout, then add it to your catalogue and order.

The tool removed part of my artwork. Can I get it back?
Yes. Lower the tolerance slider, or use the brush to paint the removed areas back in. Nothing is permanent until you save. You can Reset to Original at any time, click on the Edit image, and top right of your screen there is a Reset to Original button, this will remove the edited version.
Which works best for watercolour or pen-and-ink pieces?
Start with automatic on a low tolerance, then fine-tune by hand. Delicate edges usually look best with a gentle setting and a little manual brushing.