 Free UK Delivery on orders over £75
How to create a photo collage with Mosaic
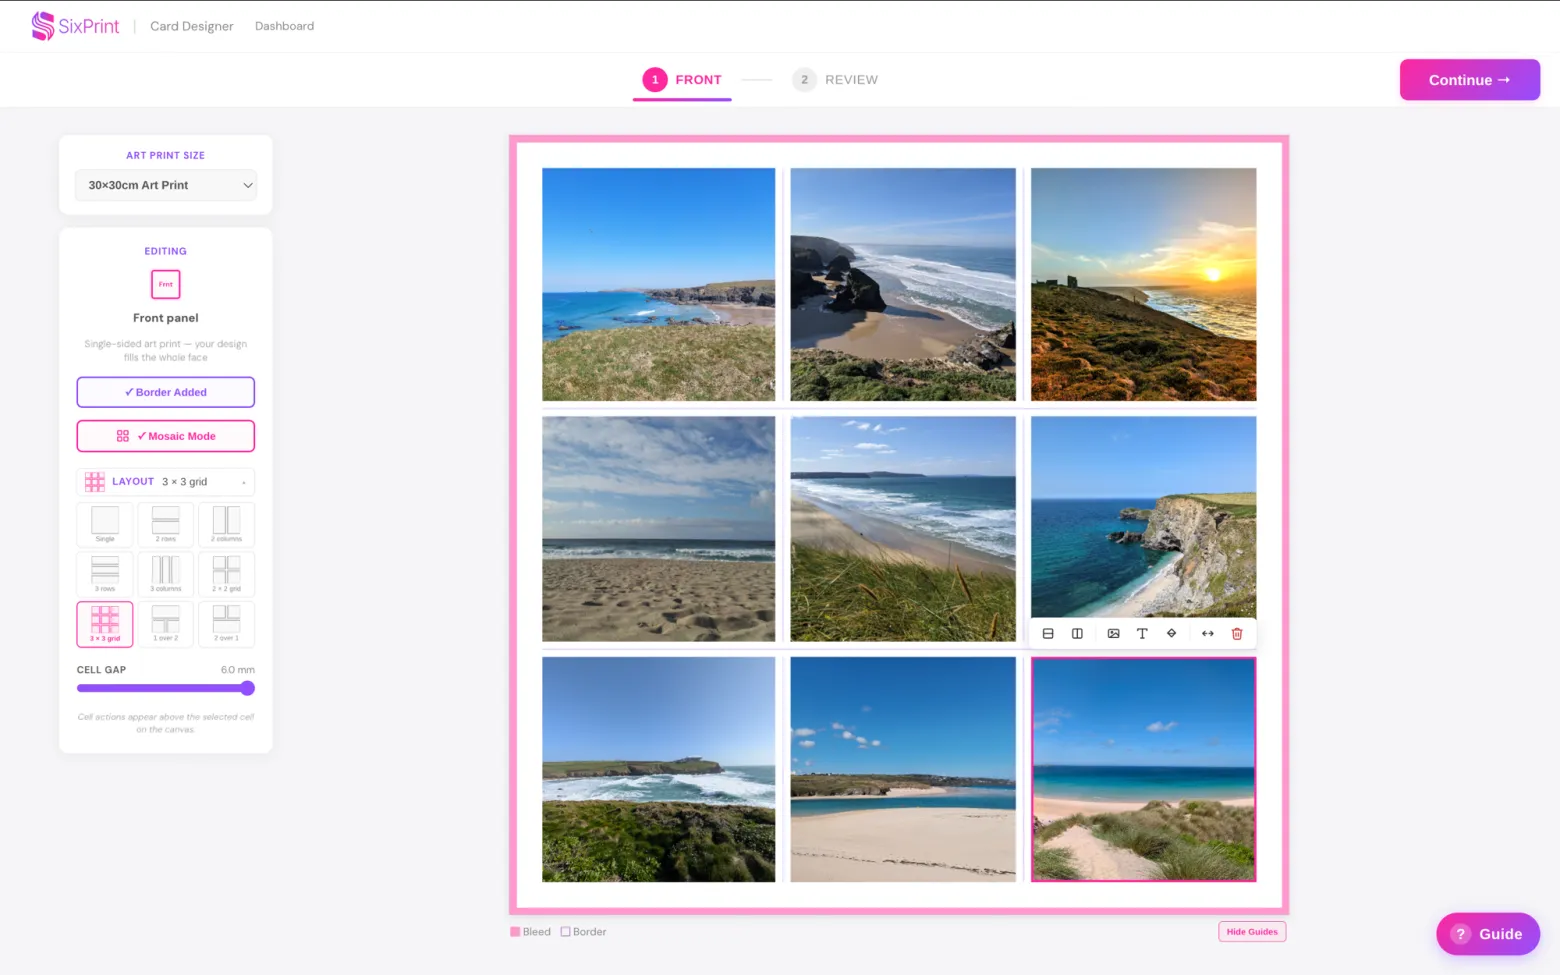
Mosaic lets you build a design from a grid of cells, so you can bring several pieces of your work together on one design, or mix artwork with text and blocks of colour. It's perfect for showing a small body of work, pairing a detail shot with the full piece, or a clean, modern layout with artwork and a title or edition note side by side. Mosaic works the same way across all our products, greeting cards, postcards, bookmarks, and art prints alike; this guide uses a card as the example, and the steps for building your grid are identical whichever product you're designing. Here's how it works.
Open the designer and turn on Mosaic
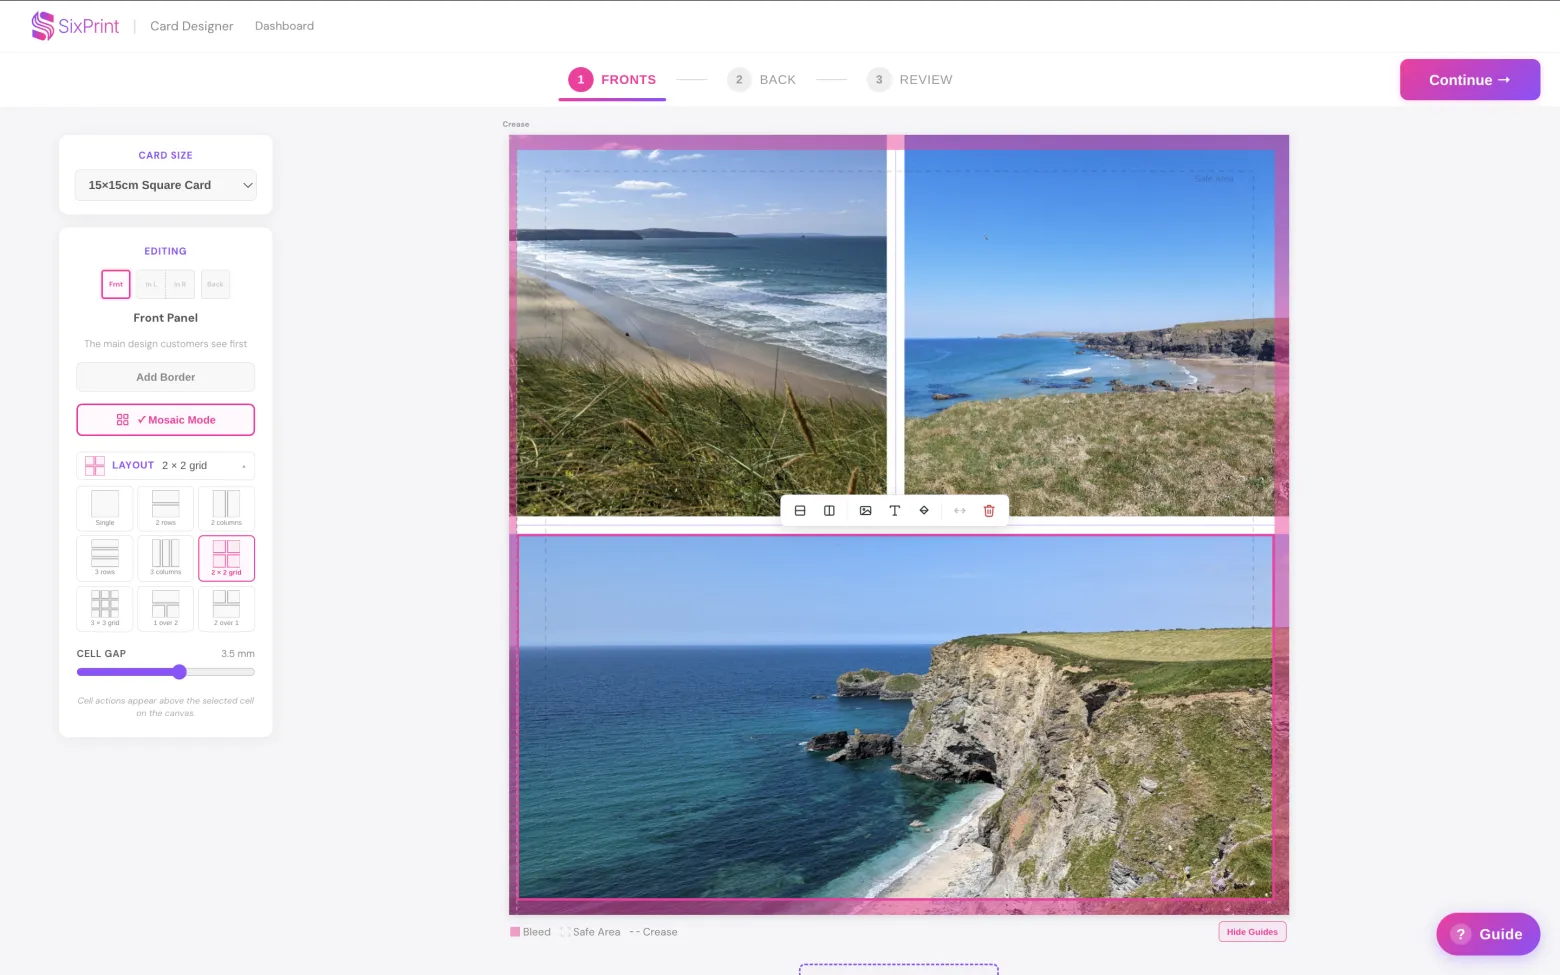
Start a new design, then click Mosaic in the front-panel tools. This switches your card front from a single image to a grid you can fill cell by cell.
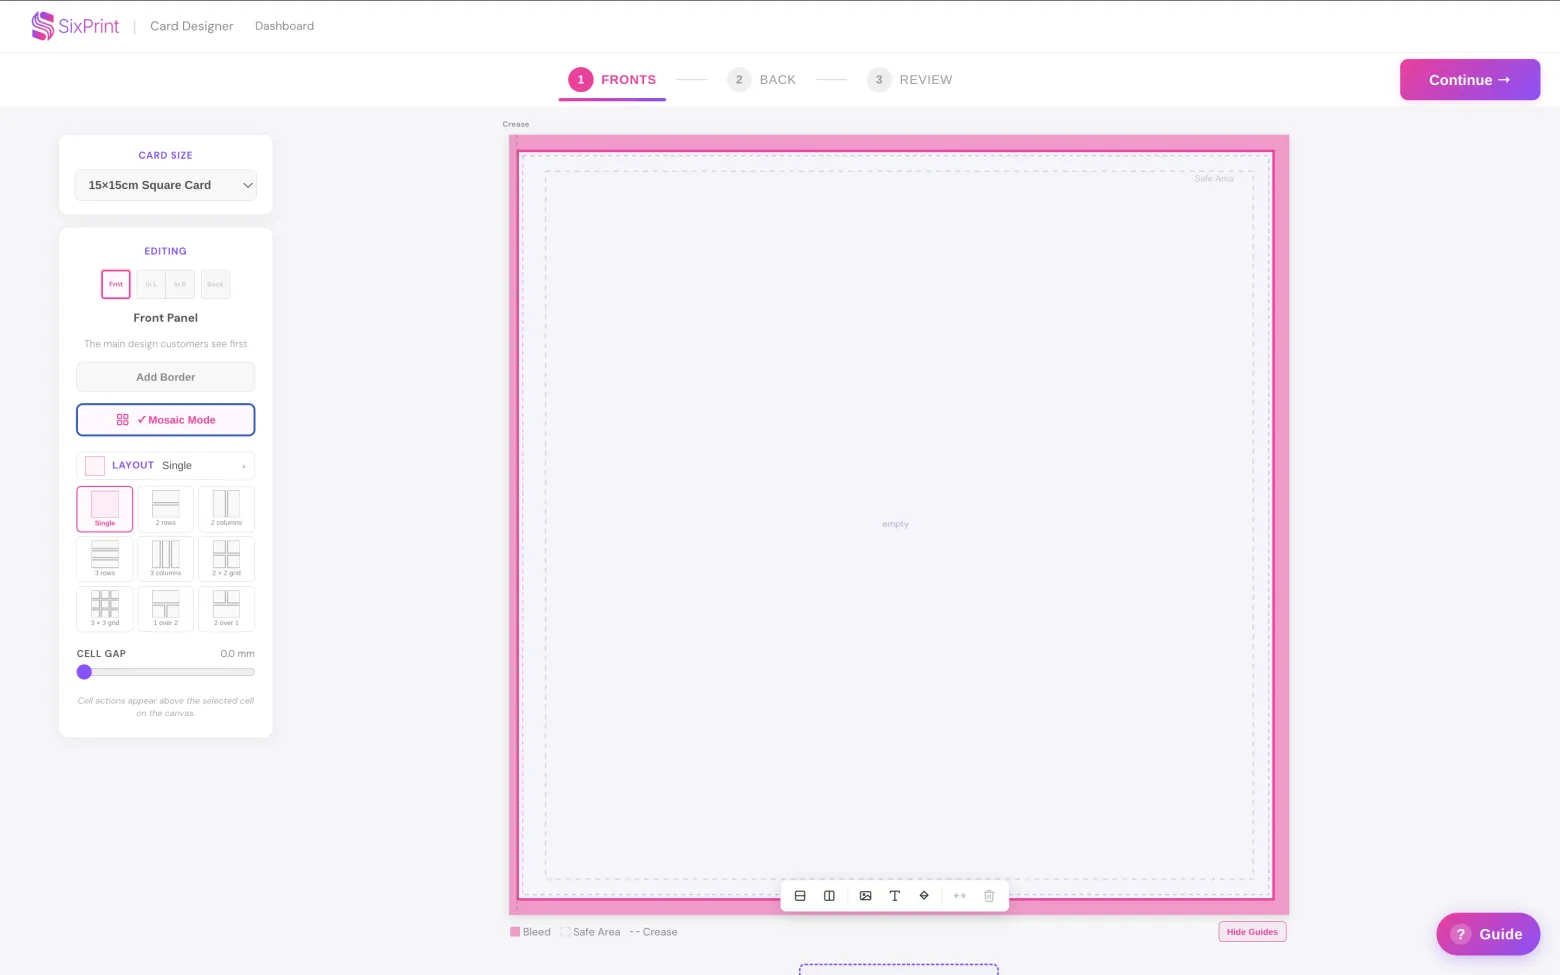
Choose your grid layout
Pick the arrangement you'd like from the layout options, rows, columns, a 2x2 grid, and more. Don't worry about getting it perfect straight away, you can merge and reshape cells as you go.
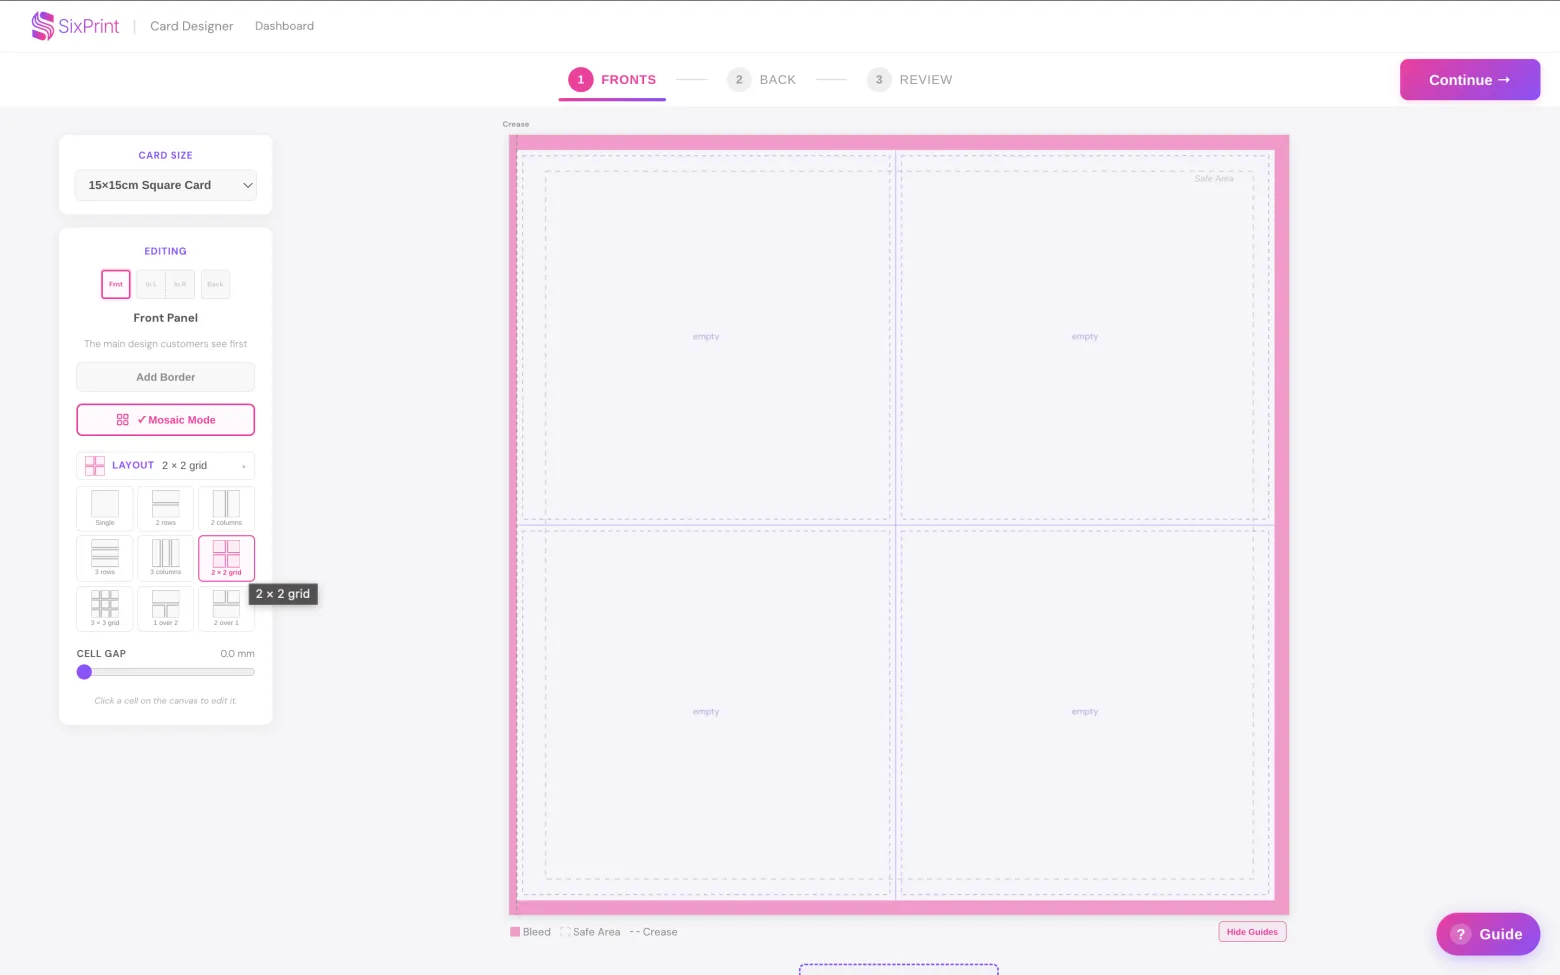
Fill each cell with an image, text or colour
Select a cell to bring up its options. You can add an image, add text, or fill it with a background colour, and each cell's colour is set independently, so no two need match. Mix and match across the grid: an image here, a detail crop there, a cell of flat colour to break it up.
One layout that works well for photographers: a 3x3 grid with images around the outside and a text block in the centre cell, useful for a title, a date, or a short caption.
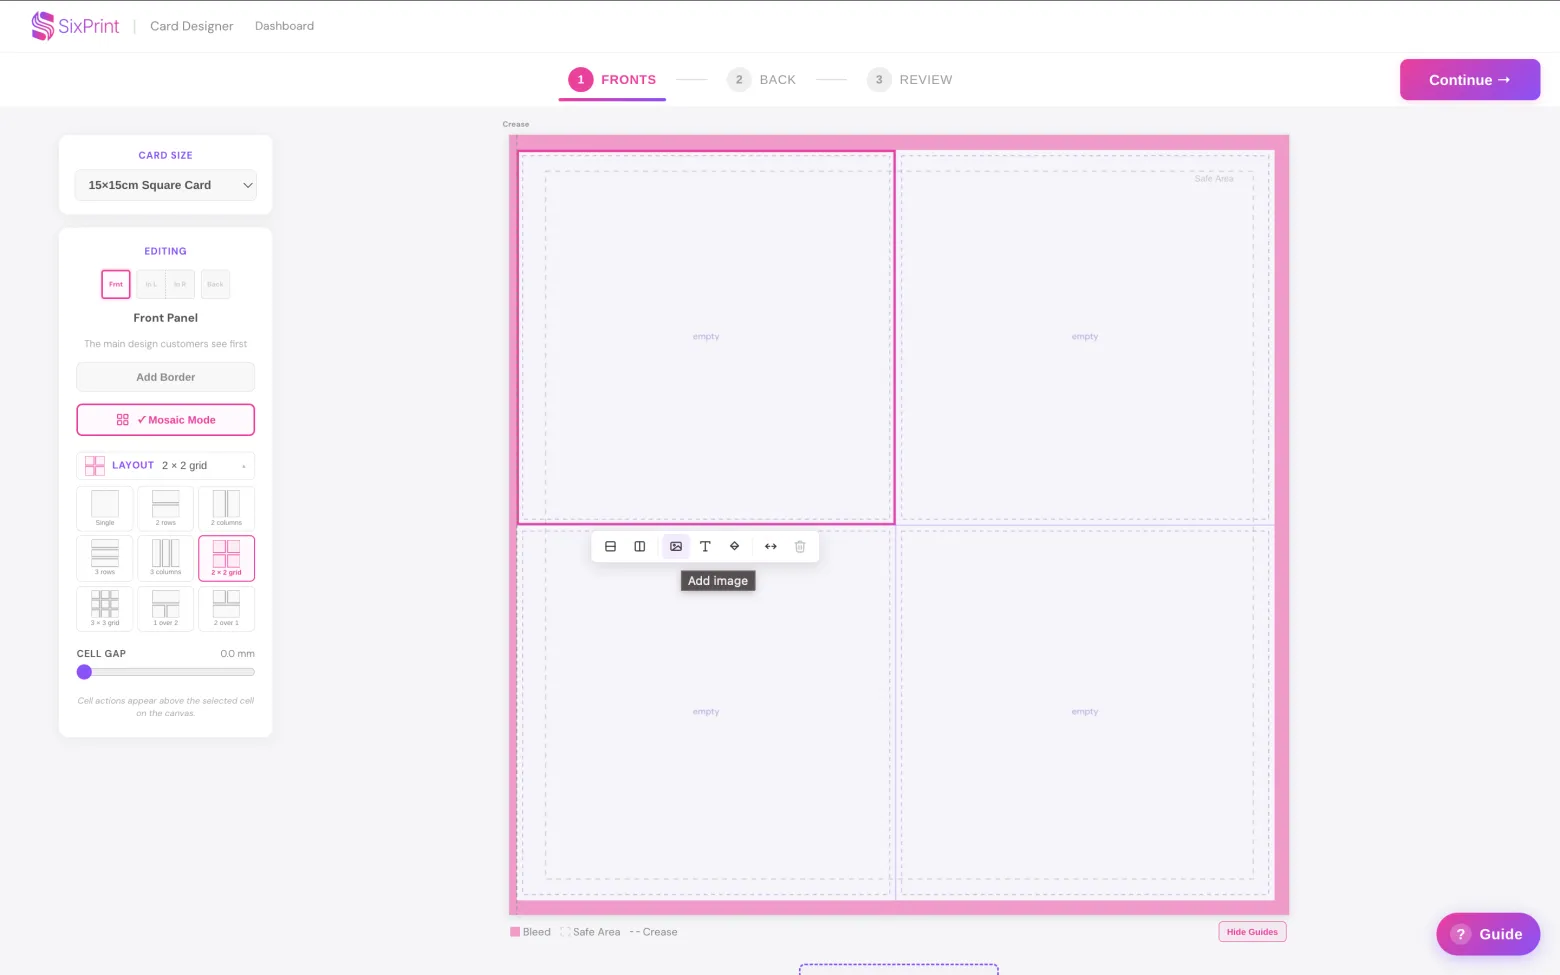
When you add an image while logged in, you can pull it straight from your image library, or upload a new one on the spot.
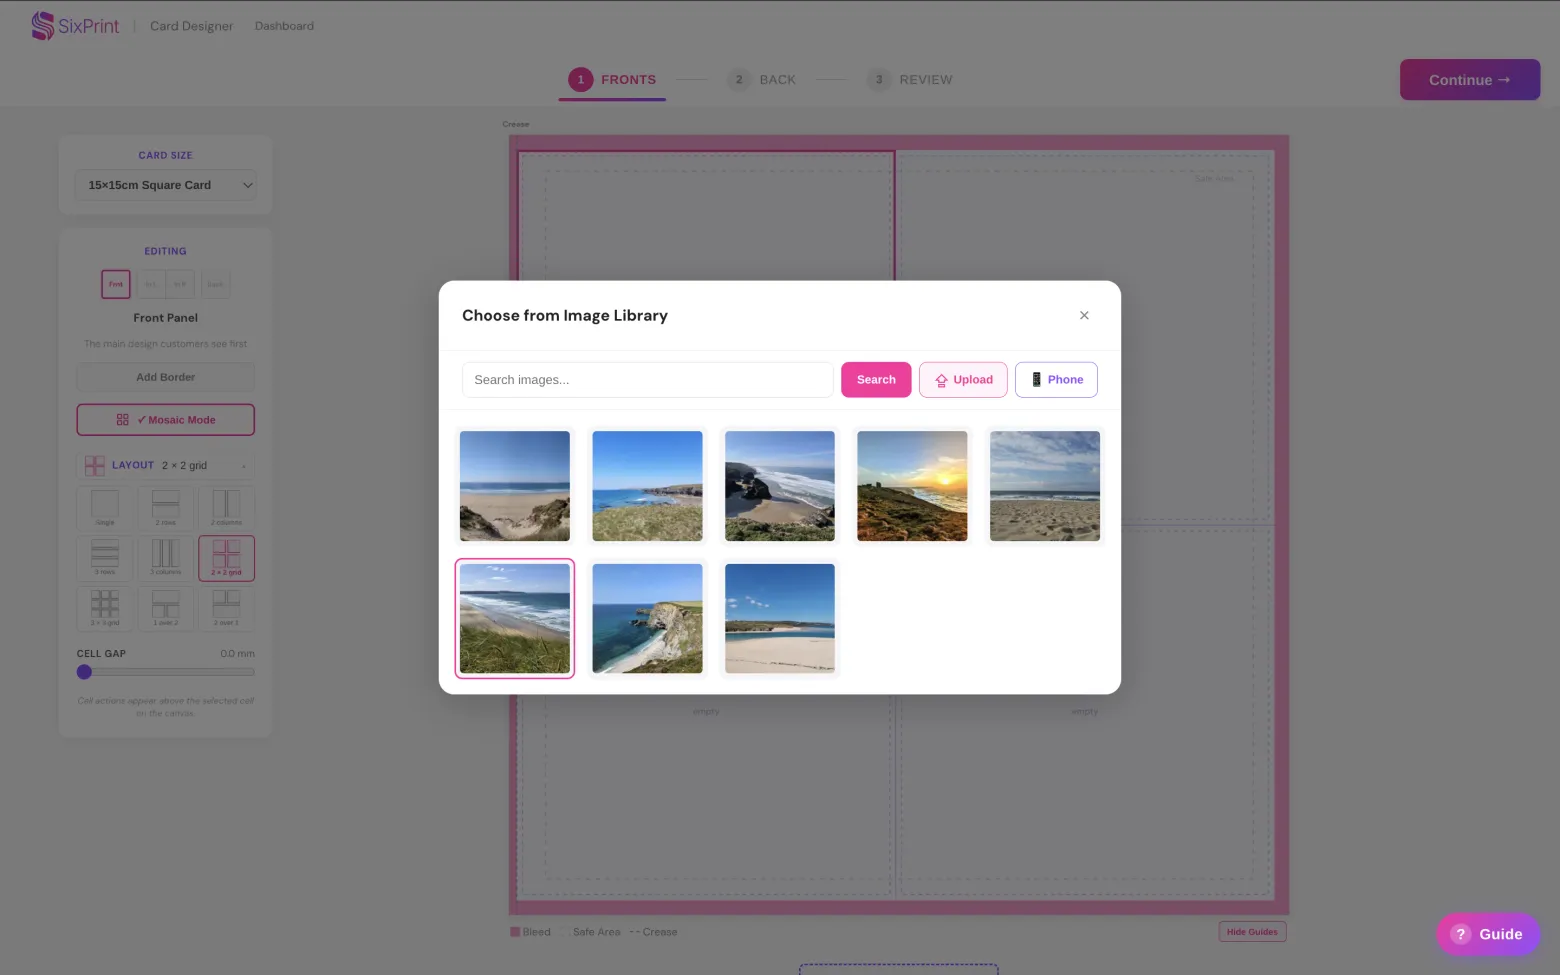
Adjust the spacing between cells (optional)
Want a little breathing room between your pieces? Use the cell padding slider to add a clean border between cells. Leave it at zero for edge-to-edge artwork, or increase it for a framed look.
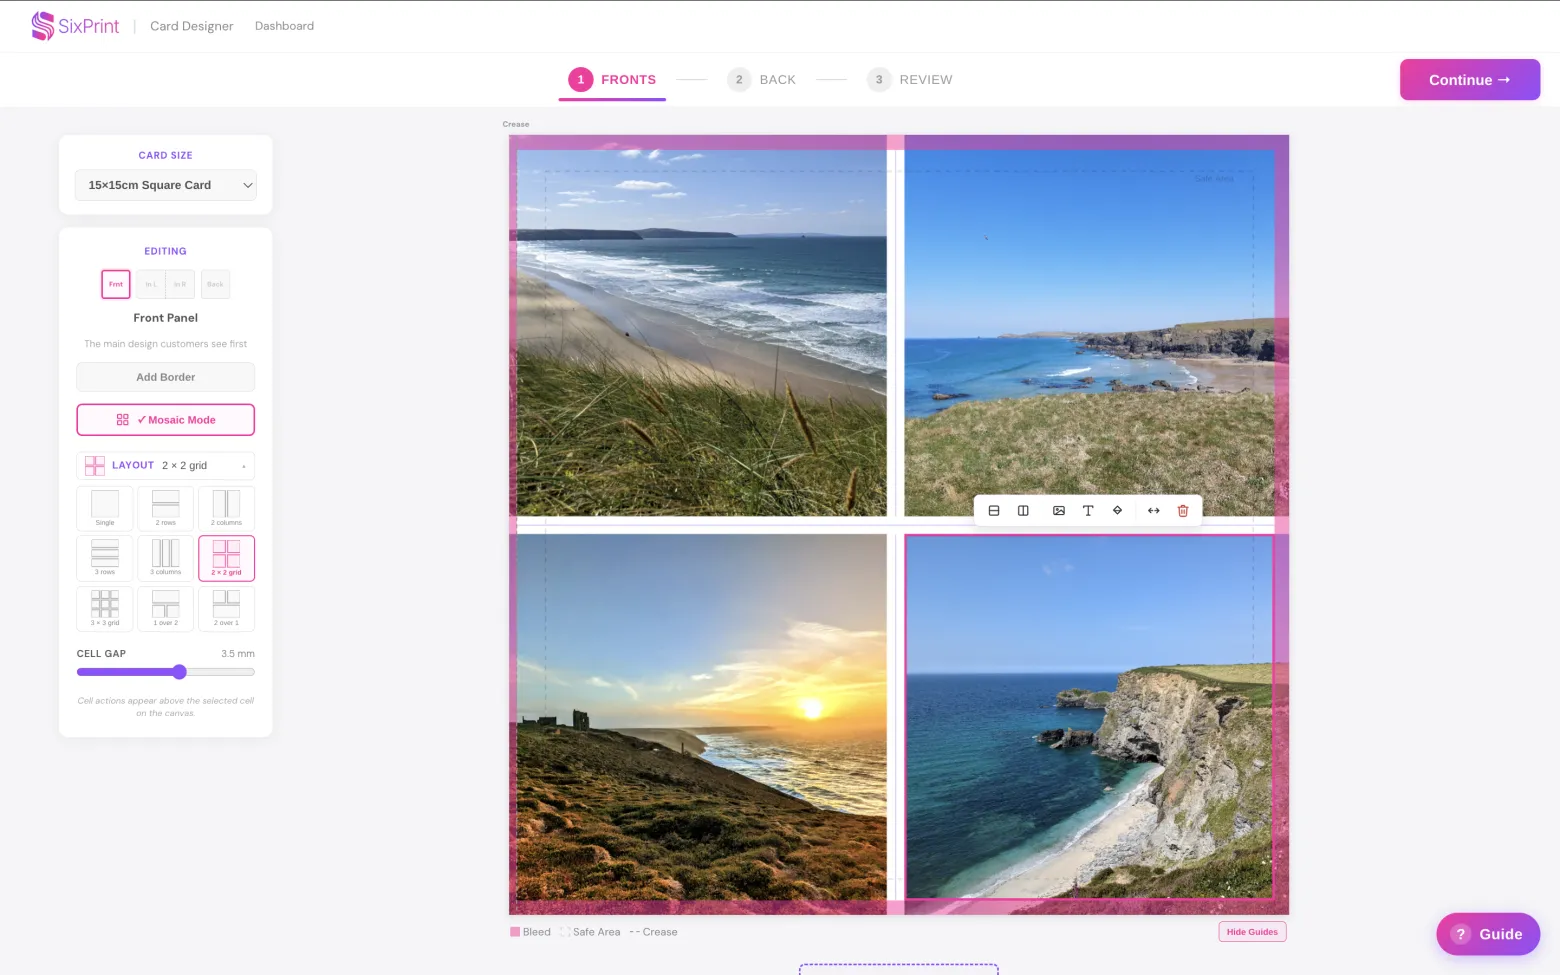
Merge cells for bigger images (optional)
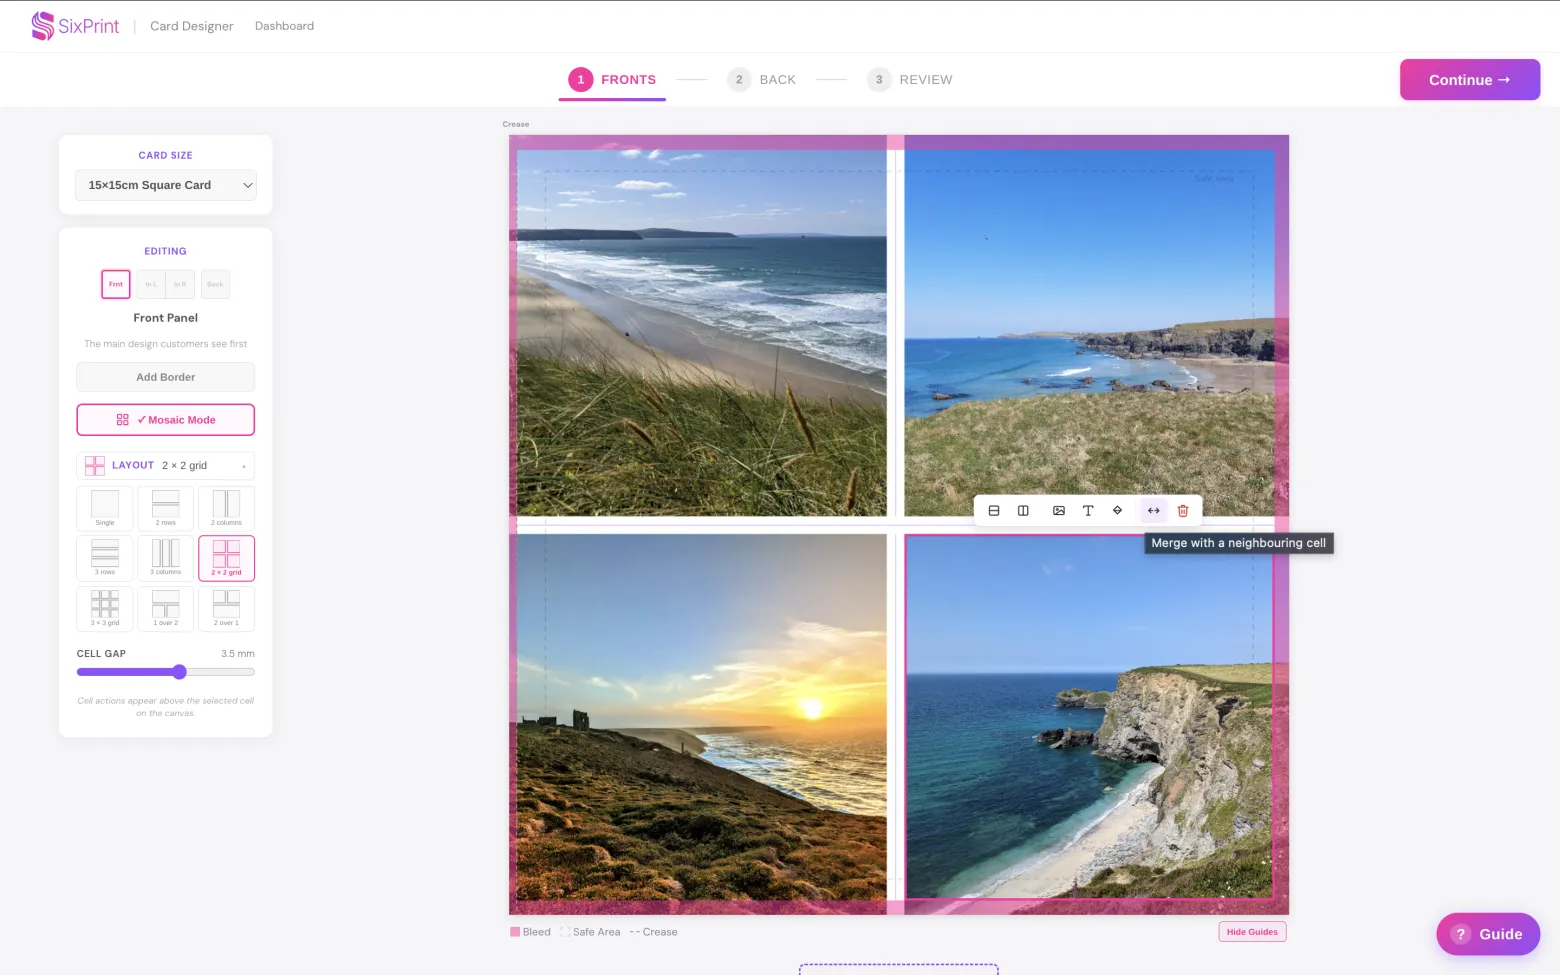
Need one piece to take centre stage? Select a cell and click Merge, then choose the neighbouring cell to join it with. The two become one larger cell, giving that piece more room, useful if you want a hero image with smaller supporting pieces around it.
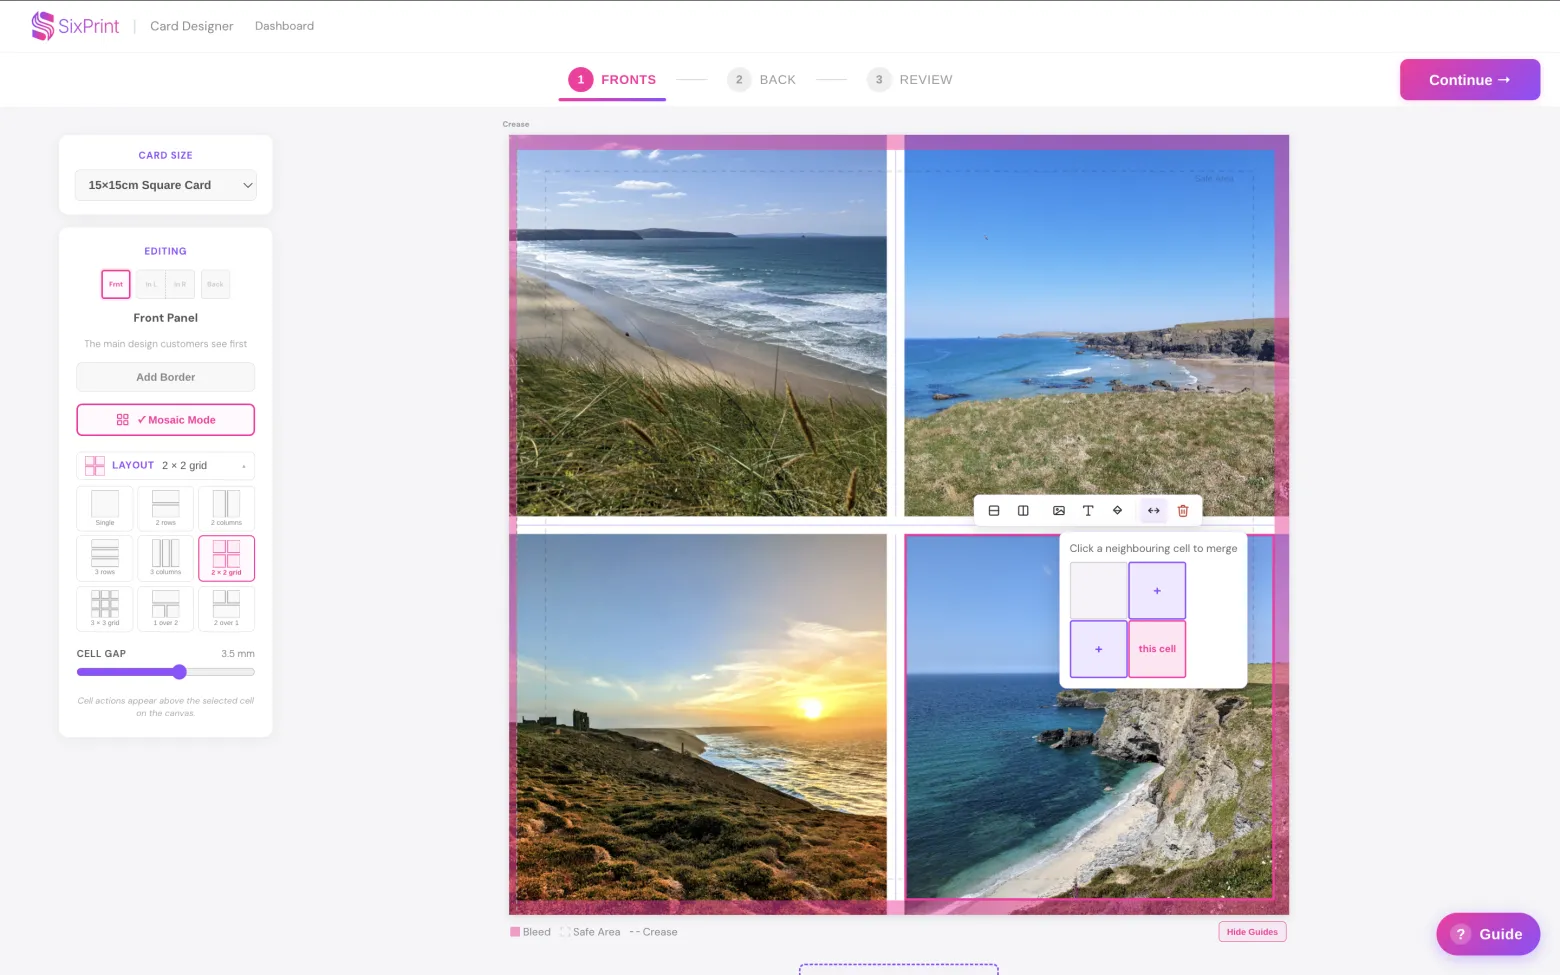
Once merged, drag the image within its cell to reframe it and position it exactly where you want.
Finish the back and add your greeting
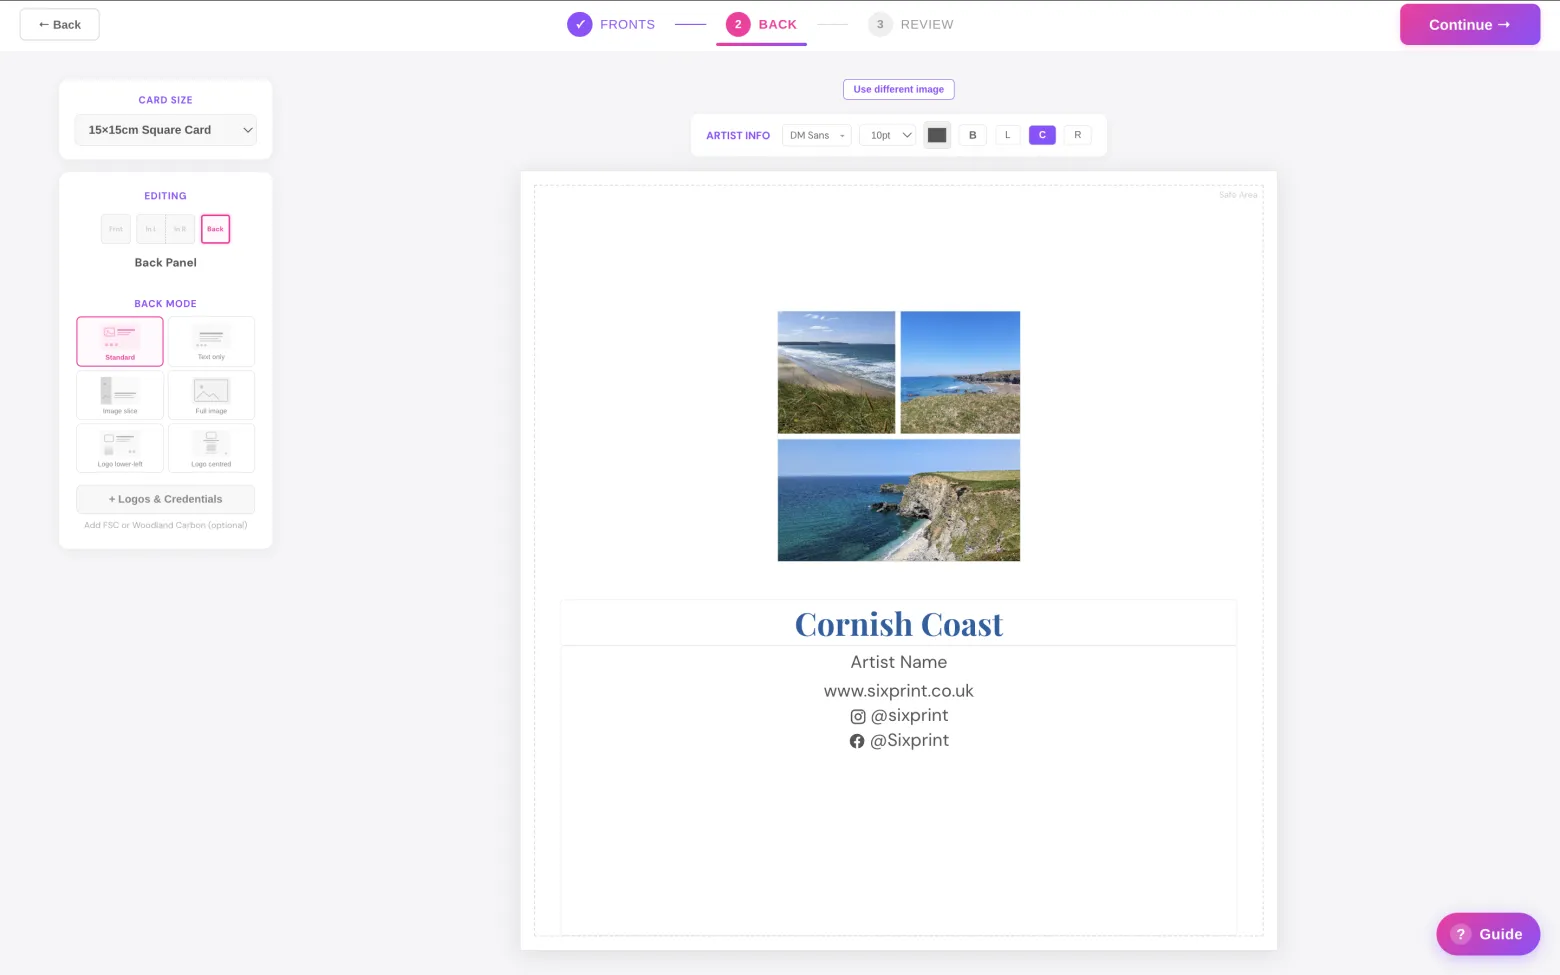
When your front is looking good, continue to the back of the card to add your greeting card name and any finishing touches, just as you would with any Sixprint card. This is a good spot for a title, edition number, or a short line about the piece if you'd like.
This finishing step depends on the product you're designing: greeting cards have a back for your card name, postcards have an address side, bookmarks have an optional back, and single-image products like art prints and giclée are front-only, so you'll go straight to review.
Review and add to your catalogue
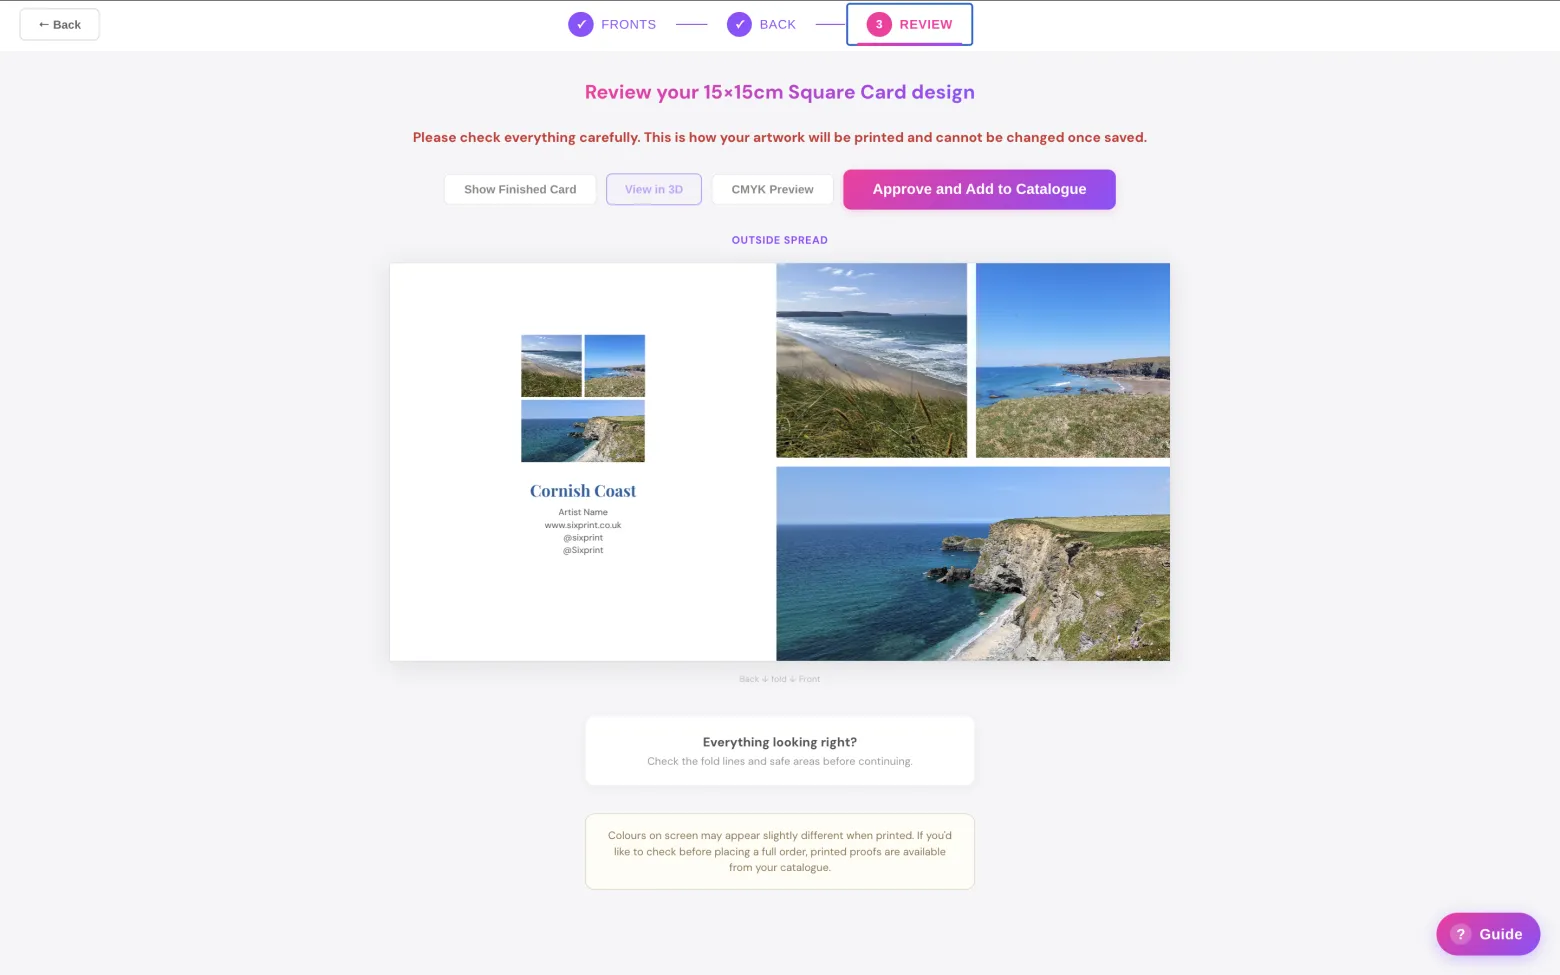
Give your design a final look on the review step, then approve it to add it to your catalogue, ready to order whenever you like.
Using Mosaic for giclée
Mosaic works on giclée too, and it's useful in two different ways there.
For a personal print, it's a nice way to bring a selection of photos together on one sheet, family photos included, arranged however you like with text or colour blocks mixed in.
It also works well as a colour proof sheet (some photographers will know this as a contact sheet, though here it's about checking colour rather than reviewing composition): laying out a selection of images together on one sheet of a given media, so you can see how colour reproduces across different shots before committing to full-size prints. If you're testing a new paper stock, this is a quick way to see several images side by side on it at once.
Can I mix images, text and colour on the same product?
Yes. Every cell is independent, so you can have artwork in one, a title or short note in another, and a block of colour in a third, all on the same design.
Can I change the layout after I've started?
Absolutely. You can merge cells, clear them and reshape the grid at any point while designing, so nothing is locked in until you approve your card.
How do I make one image bigger than the others?
Select a cell, click Merge, then choose a neighbouring cell to join it with. The combined cell gives that piece more space, and you can drag the image to reframe it. You can also drag the space between two cells to make one larger and the other smaller; it snaps to tidy proportions as you go (25%, a third, 50%, two thirds and 75%), and holding Shift lets you set any position you like.